Painting the Basement – Part 2
A few years ago rainwater got into our basement and damaged a finished bedroom there. To address the source of the problem, I spent a summer fiddling with the grading on the side of the house. This year, with the help of a friend who showed me how easy it was to do, I repaired the the mortar of the cement block walls before applying Drylok. Then, we replaced the old fiberglass batting with a rigid Styrofoam product, bringing the insulation up to code. We had considered using a two-part spray foam because we were under the impression that it is the best product available. However, after reading about some negative experiences people had with chemical sensitivities that caused headaches and, in extreme cases, made homes uninhabitable, we decided it wasn’t for us. The decision saved us the hassle of boarding our cat at a friend’s house while the work was in progress. The contractors assured us that it wouldn’t be necessary to do this. However, our veterinarian disagreed.
We also took the opportunity to insulate the rim joists with foam boards that are held in place with a one-part spray foam. This had been on the to-do list ever since our first energy audit in ’08. The work required taking some panels out of the drop ceiling and moving everything out from the walls. Result? Boxes of books all over the house. I’m anxious to unpack! However, with the basement largely dismantled, I thought it would be a good time to paint.
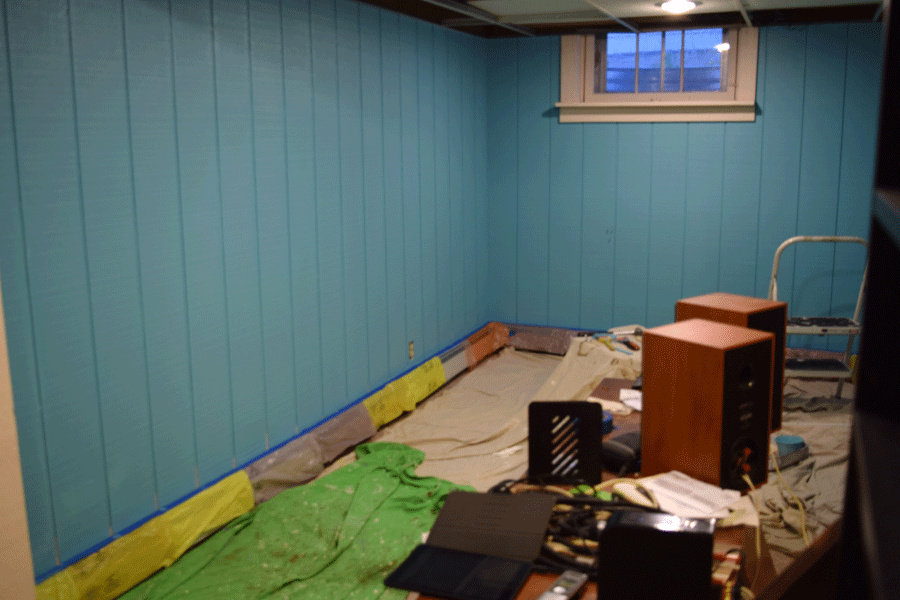
The Internet is full of tips for choosing a color for a basement. The short answer for our situation (not a ton of natural light, adequate recessed lighting) was to stay away from pastels. They can look drab without enough light to reflect. Also recommended was a saturated color that doesn’t have too much black in it. After a few false starts, we settled on Behr’s Pure Turquoise.
Here are some pictures so far.
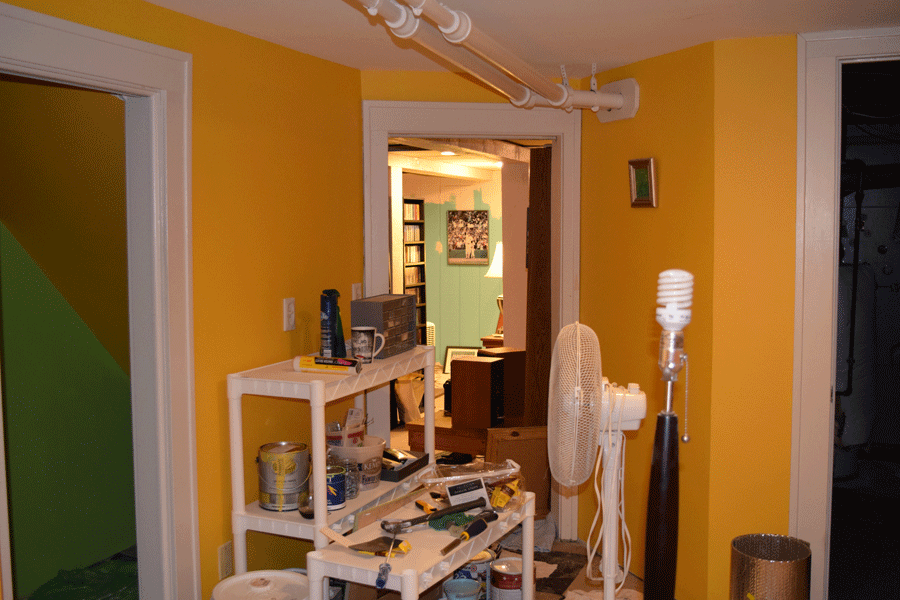
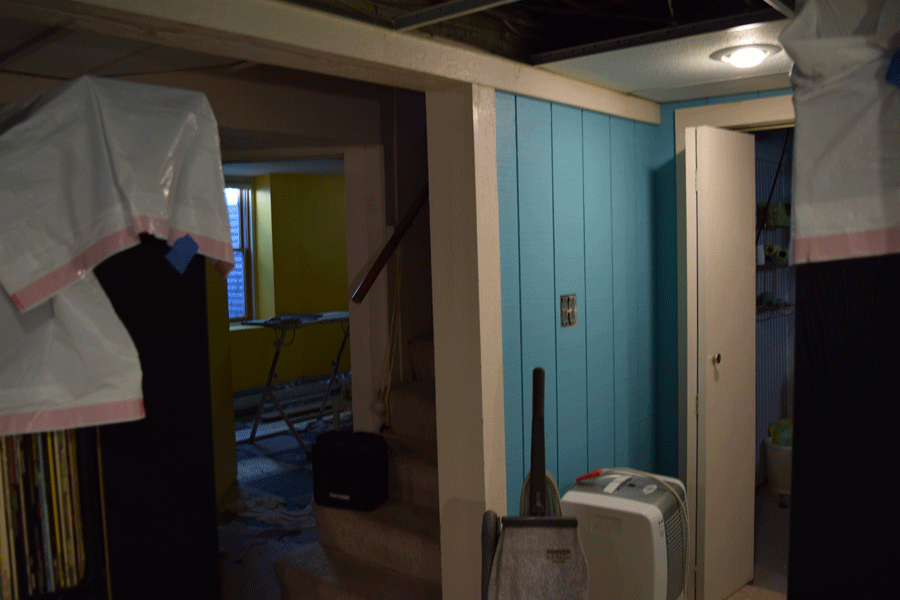
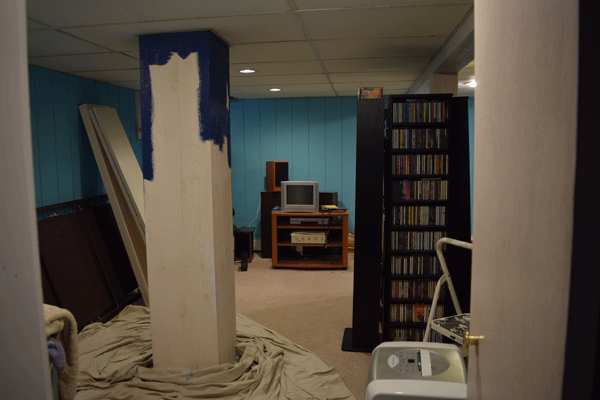
Looking from bedroom to media room.
Before
A bookshelf will go here. We’re going with “college style” bricks.

I have a fun color picked out for that post.
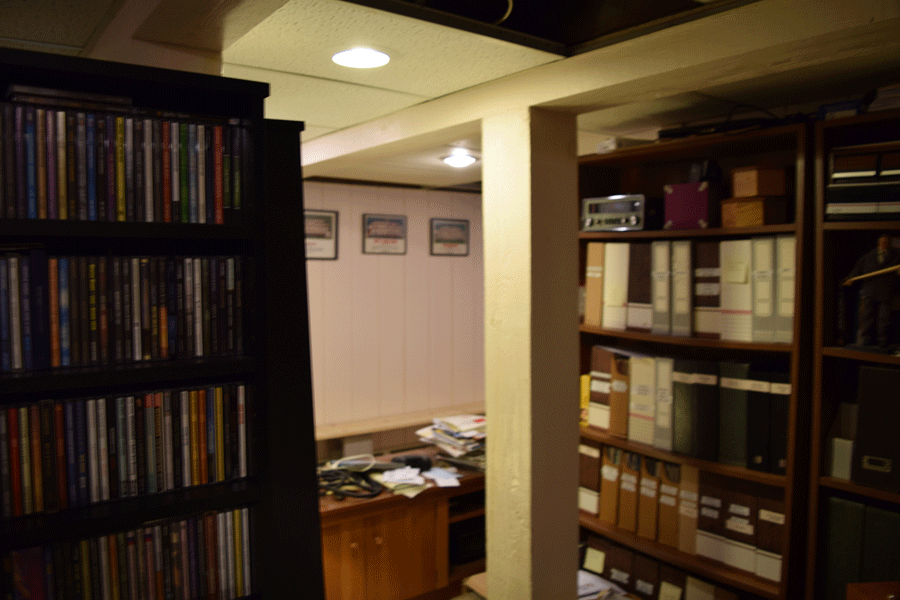
Before
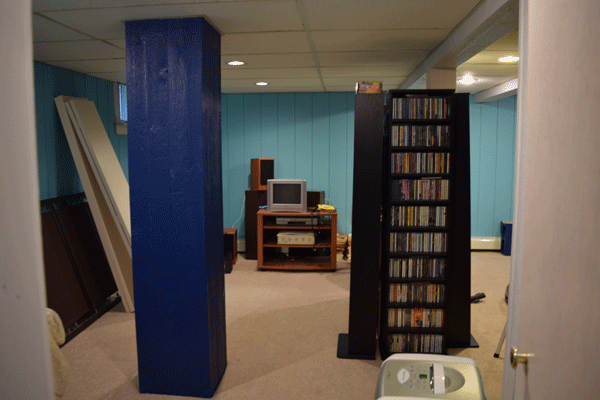
After
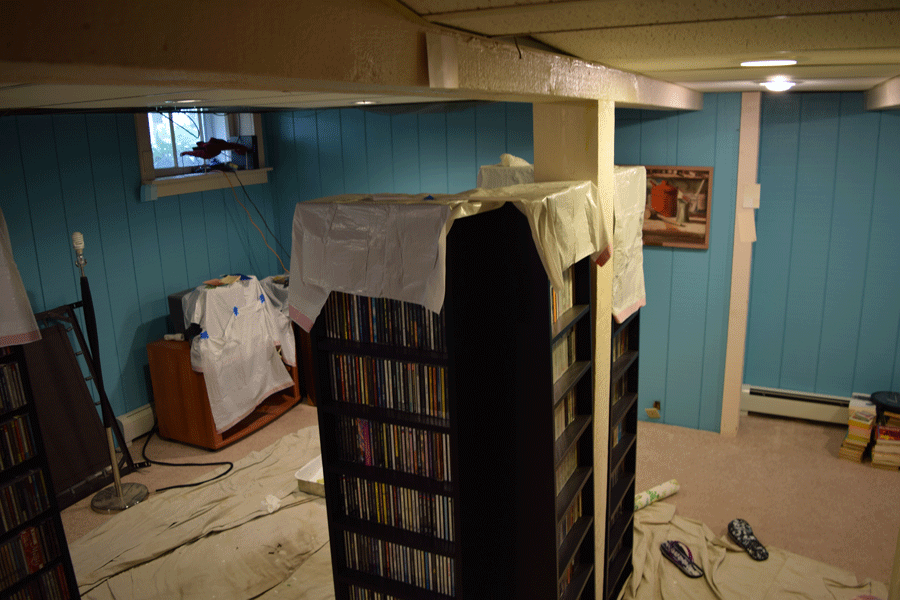
It’s shaping up
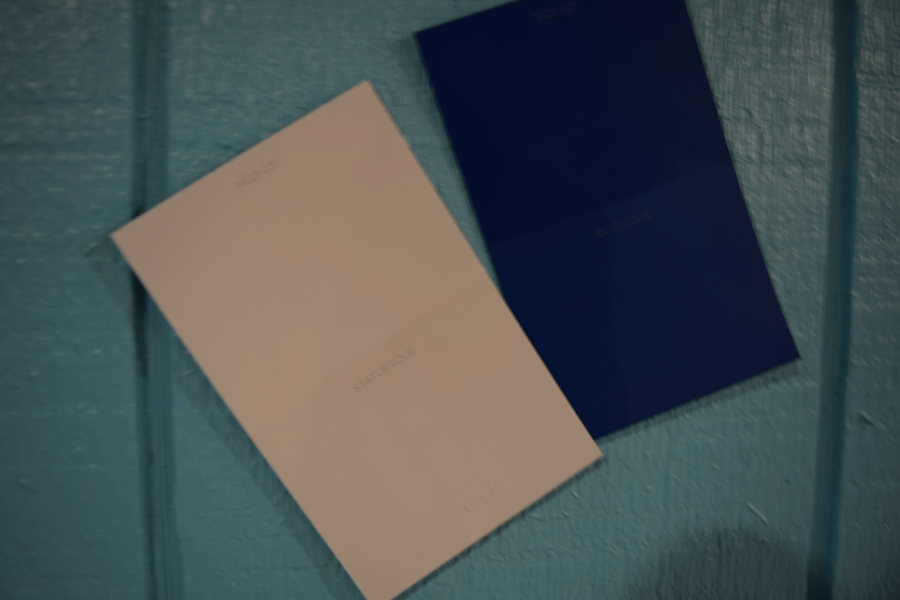
The left is the trim. The right is the “fun color”.
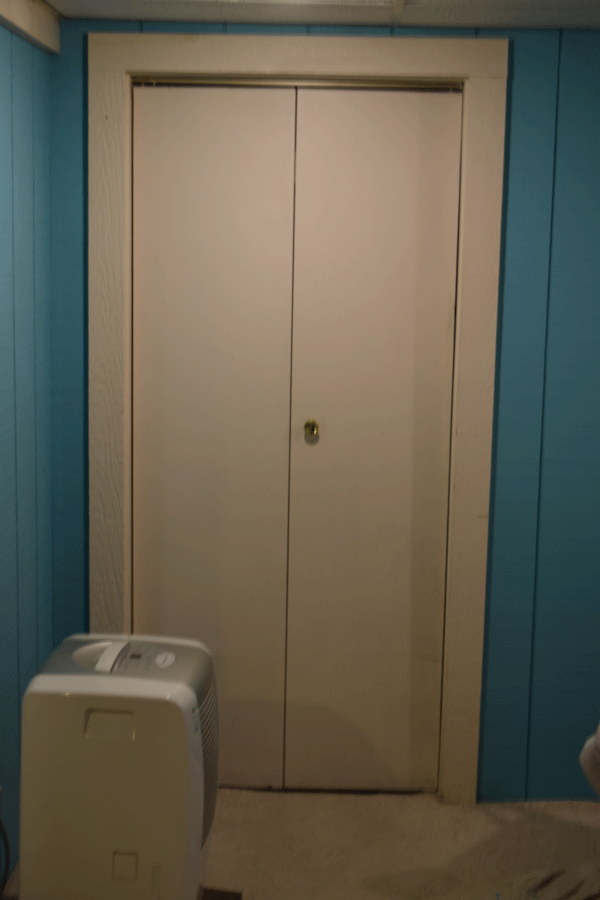
I want to paint a mural on this door.
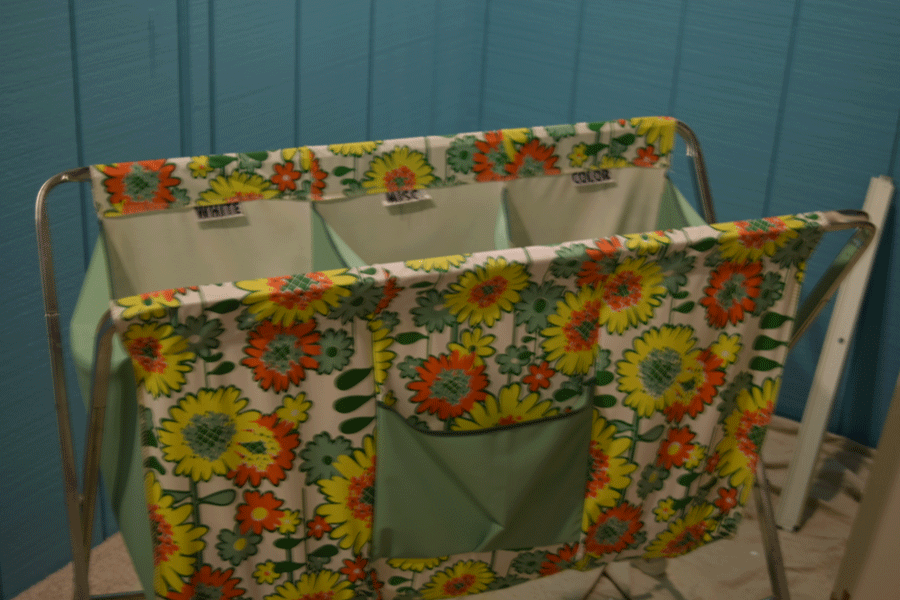
This old laundry cart was inspiring…
Update: August 18, 2015
I’m still enjoying working on this project and try to make progress every day – even if it’s just to tidy up or re-position the drop cloths to get ready for the next thing. Here is some evidence of progress.
Painting this post was a treat.
I like how this turned out. The ceiling tiles have also been freshened up with paint. It made a big difference in how the room feels.
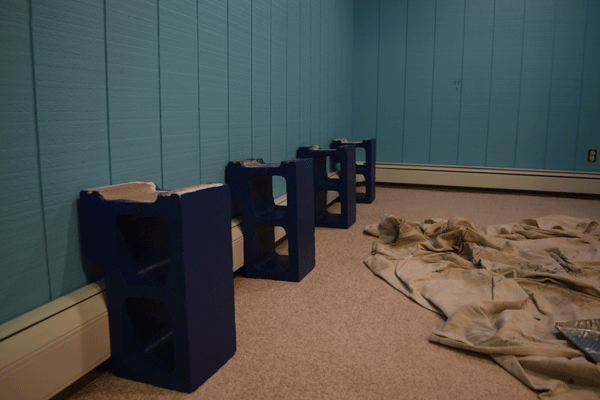
I used the same blue for the cement blocks that will support shelves for books.
I spent the morning getting the shelves ready.
Update: August 25, 2015
I just got back from Al’s workshop where he made me some pine boxes I wanted to try as supports for my bookshelf project. I love them! I’m excited to see the whole thing come together! My plan is to use a clear shellac on the boxes in contrast to the shelves where I used amber. I’m so glad that I asked for Al’s help as he steered me away from some design flaws and added some really nice finishing touches. For example, notice the edges on the face of the boxes are rounded. I learned a lot and that was fun!

10.5″ x 7/5″ pine boxes will be used for shelf supports.
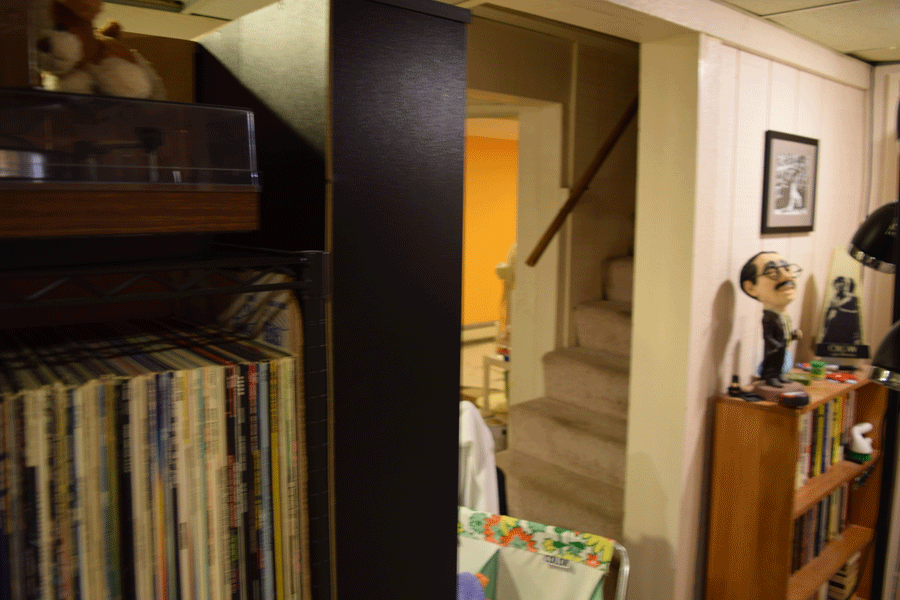
Last week my friend Lucie who was escaping the Arizona heat came by for a look at the project. I took her suggestion and went with the dark blue accent color for the wedge that is revealed on the side of the staircase. I love how it turned out.
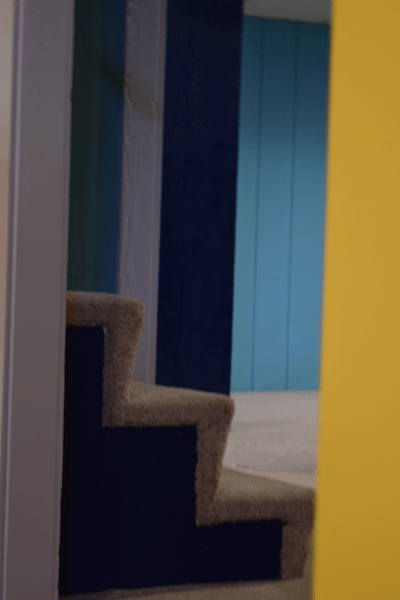
No one would ever see the room from this view, but I still like the effect.
I met this little guy when I first got started on the project and didn’t have the heart to dislodge him. I figured he’d eventually move on. But there he is in the same spot by the window.
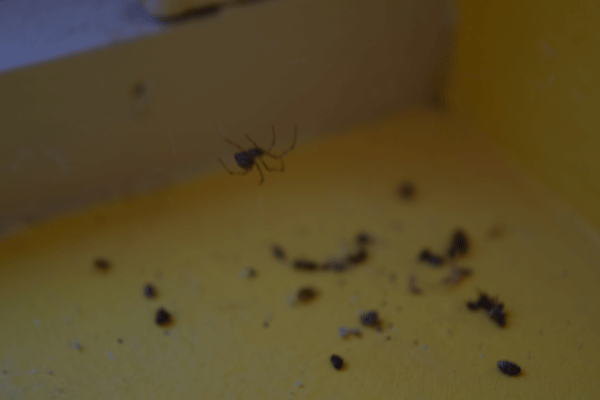
Spare the spider!
Update: November 8, 2015
I’m not sure I would have ever finished painting the “pink room”, had it not been for my mom’s encouragement. Starting with the discovery that paint was coming off of the wall in sheets, that project turned out to be much bigger than I had expected and to some extent out of reach of my particular skills. We hired someone to repair the plaster. Margo Breivik did great work. Then there was the issue of the trim that had several coats of paint and visible drip marks. Too much paint gives a room the “old baggage” feeling, something that Brian and I noticed when we were house hunting. So I scraped. I used chemicals. With the intention of putting a fresh coat of paint on a clean surface, I took the baseboards down to the maple underneath. Then Brian sees the it. He likes it. Now I’m reading about how to finish the trim with a stain and this adds several more steps to the process.
There were external factors too. There always are. At one point I’m staring into the room and telling my mom that I don’t see how it will be possible to finish. She boils it down. Do something every day, big or small, and eventually it will get done. It might be a week from now or years. But, plug away and you will finish. As for the “years” she says, “It’s your house. What’s the hurry? Do what you want.”
The room turned out great. I felt proud when my dad marveled over it. He has high standards. He always does good work.
So, I’ve been plugging away at the painting the basement. There’s much left to do, but I don’t (and never did) have the feeling that will never get done, despite the delays. Here are some highlights.
Stuck on More Color Decisions
For the longest time I was stuck on the idea of making the stairwell two-toned, turquoise on the bottom like the rest of the basement and something brighter on the top near the kitchen. Answer (courtesy of Brian): Use the turquoise on the top and the bottom. It turned out great, but what color for the ledge? You see it there on the left?
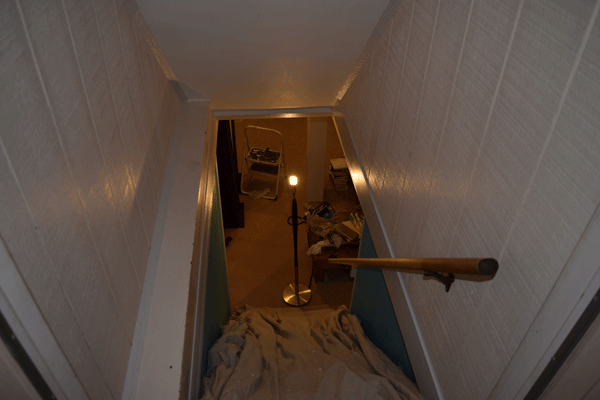
Keeping it simple was the answer. Using the turquoise on the top and bottom of the stairwell was perfect.
To what level do you want to take it?
“To what level do you want to take it?” is a question I kept hearing from the same handyman who told me that I do not live in the Taj Mahal. When I’m doing the work, asking the question is more about what I’m capable of doing; it’s about my curiosity. “How would that look?” It’s not usually about who’s on the clock. In this case, I was second-guessing the color I picked for the ledge in the stairway. What was underneath the 80 layers of paint? As I was getting ready to go out for lunch with my friend Santwana, I literally dropped what I was doing (applying mascara) to grab a scraper to find out. Sold.
I’m not going to lie. Prepping for this job has been a bitch. To what level do I want to take this? Way beyond whatever a flipper might do.
Other Pressing Things
Then there are just the other things that need to be done by a specific time. This is the beauty (and I really mean it – beauty) of living in a place that has four seasons. There are real deadlines. In this case, there was a deck that was in sore need of staining and food to be harvested.
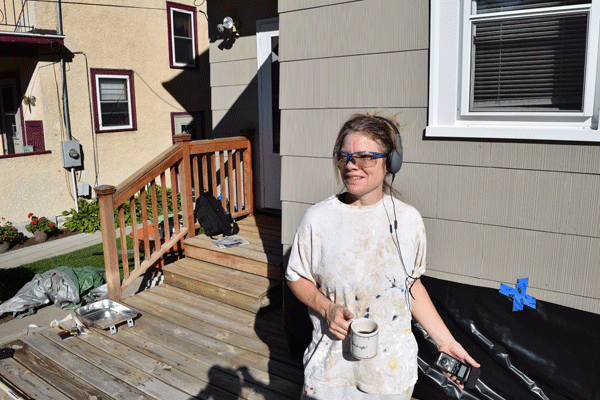
Day four of deck staining. I still have time to play with recording some things.
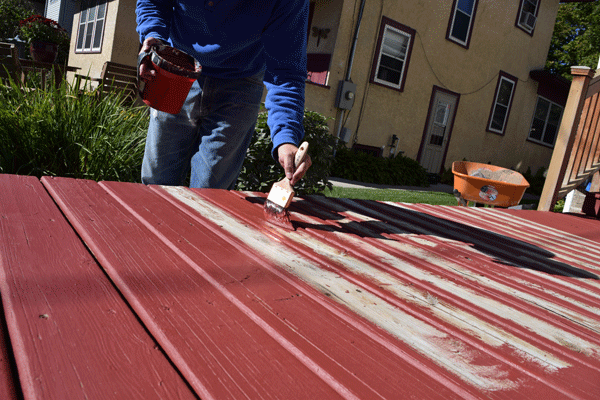
Almost done with the first coat. We painted the cracks with a brush and then rolled the rest.
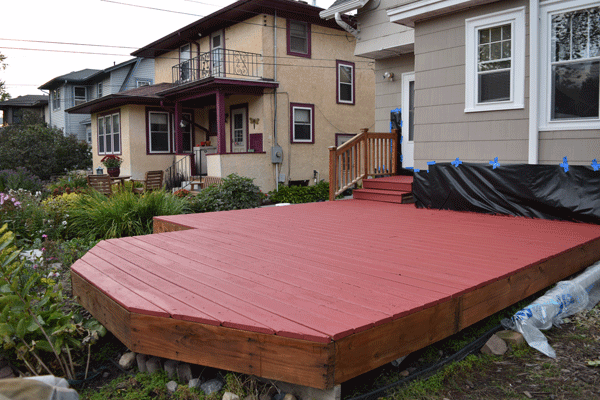
Almost done.

I gave away a lot of acorn squash and still have plenty.
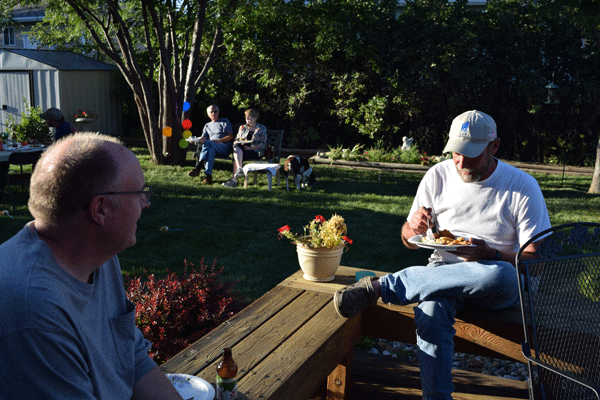
Fun Times
Then there is just taking a break.
We made it to South Dakota for my mom’s birthday, which was celebrated with my brother-in-law’s famous fish fry. I’m still thinking about that food.
And some actual progress…
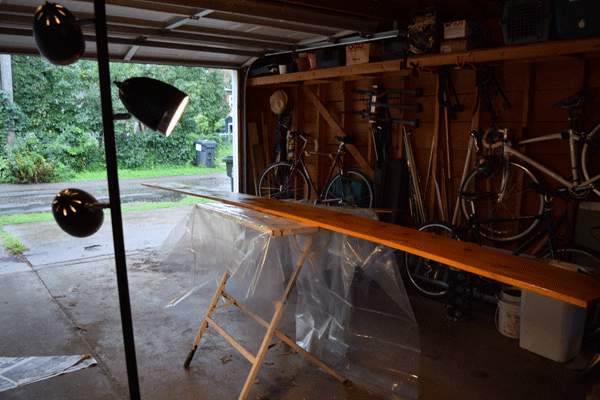
Finishing the 12-foot pine boards for the bookshelf I’m making was definitely progress. I applied four coats of shellac and by the end it got a little tedious. It was worth it. In addition to moving a step closer to completing the project, I opened up a parking stall in the garage. And that puts me back in compliance with my rule to always keep the garage clutter-free enough to keep our cars in it. I’m not sure such a rule is necessary. We live in Minnesota! Yet I can see that the threat of winter isn’t motivation enough for some people. So, I made a rule in case I was the sort who needed it.
I like. I can see your point of the brighter colors. Looks like a lot of work but the payoff is around the bend. Good going.