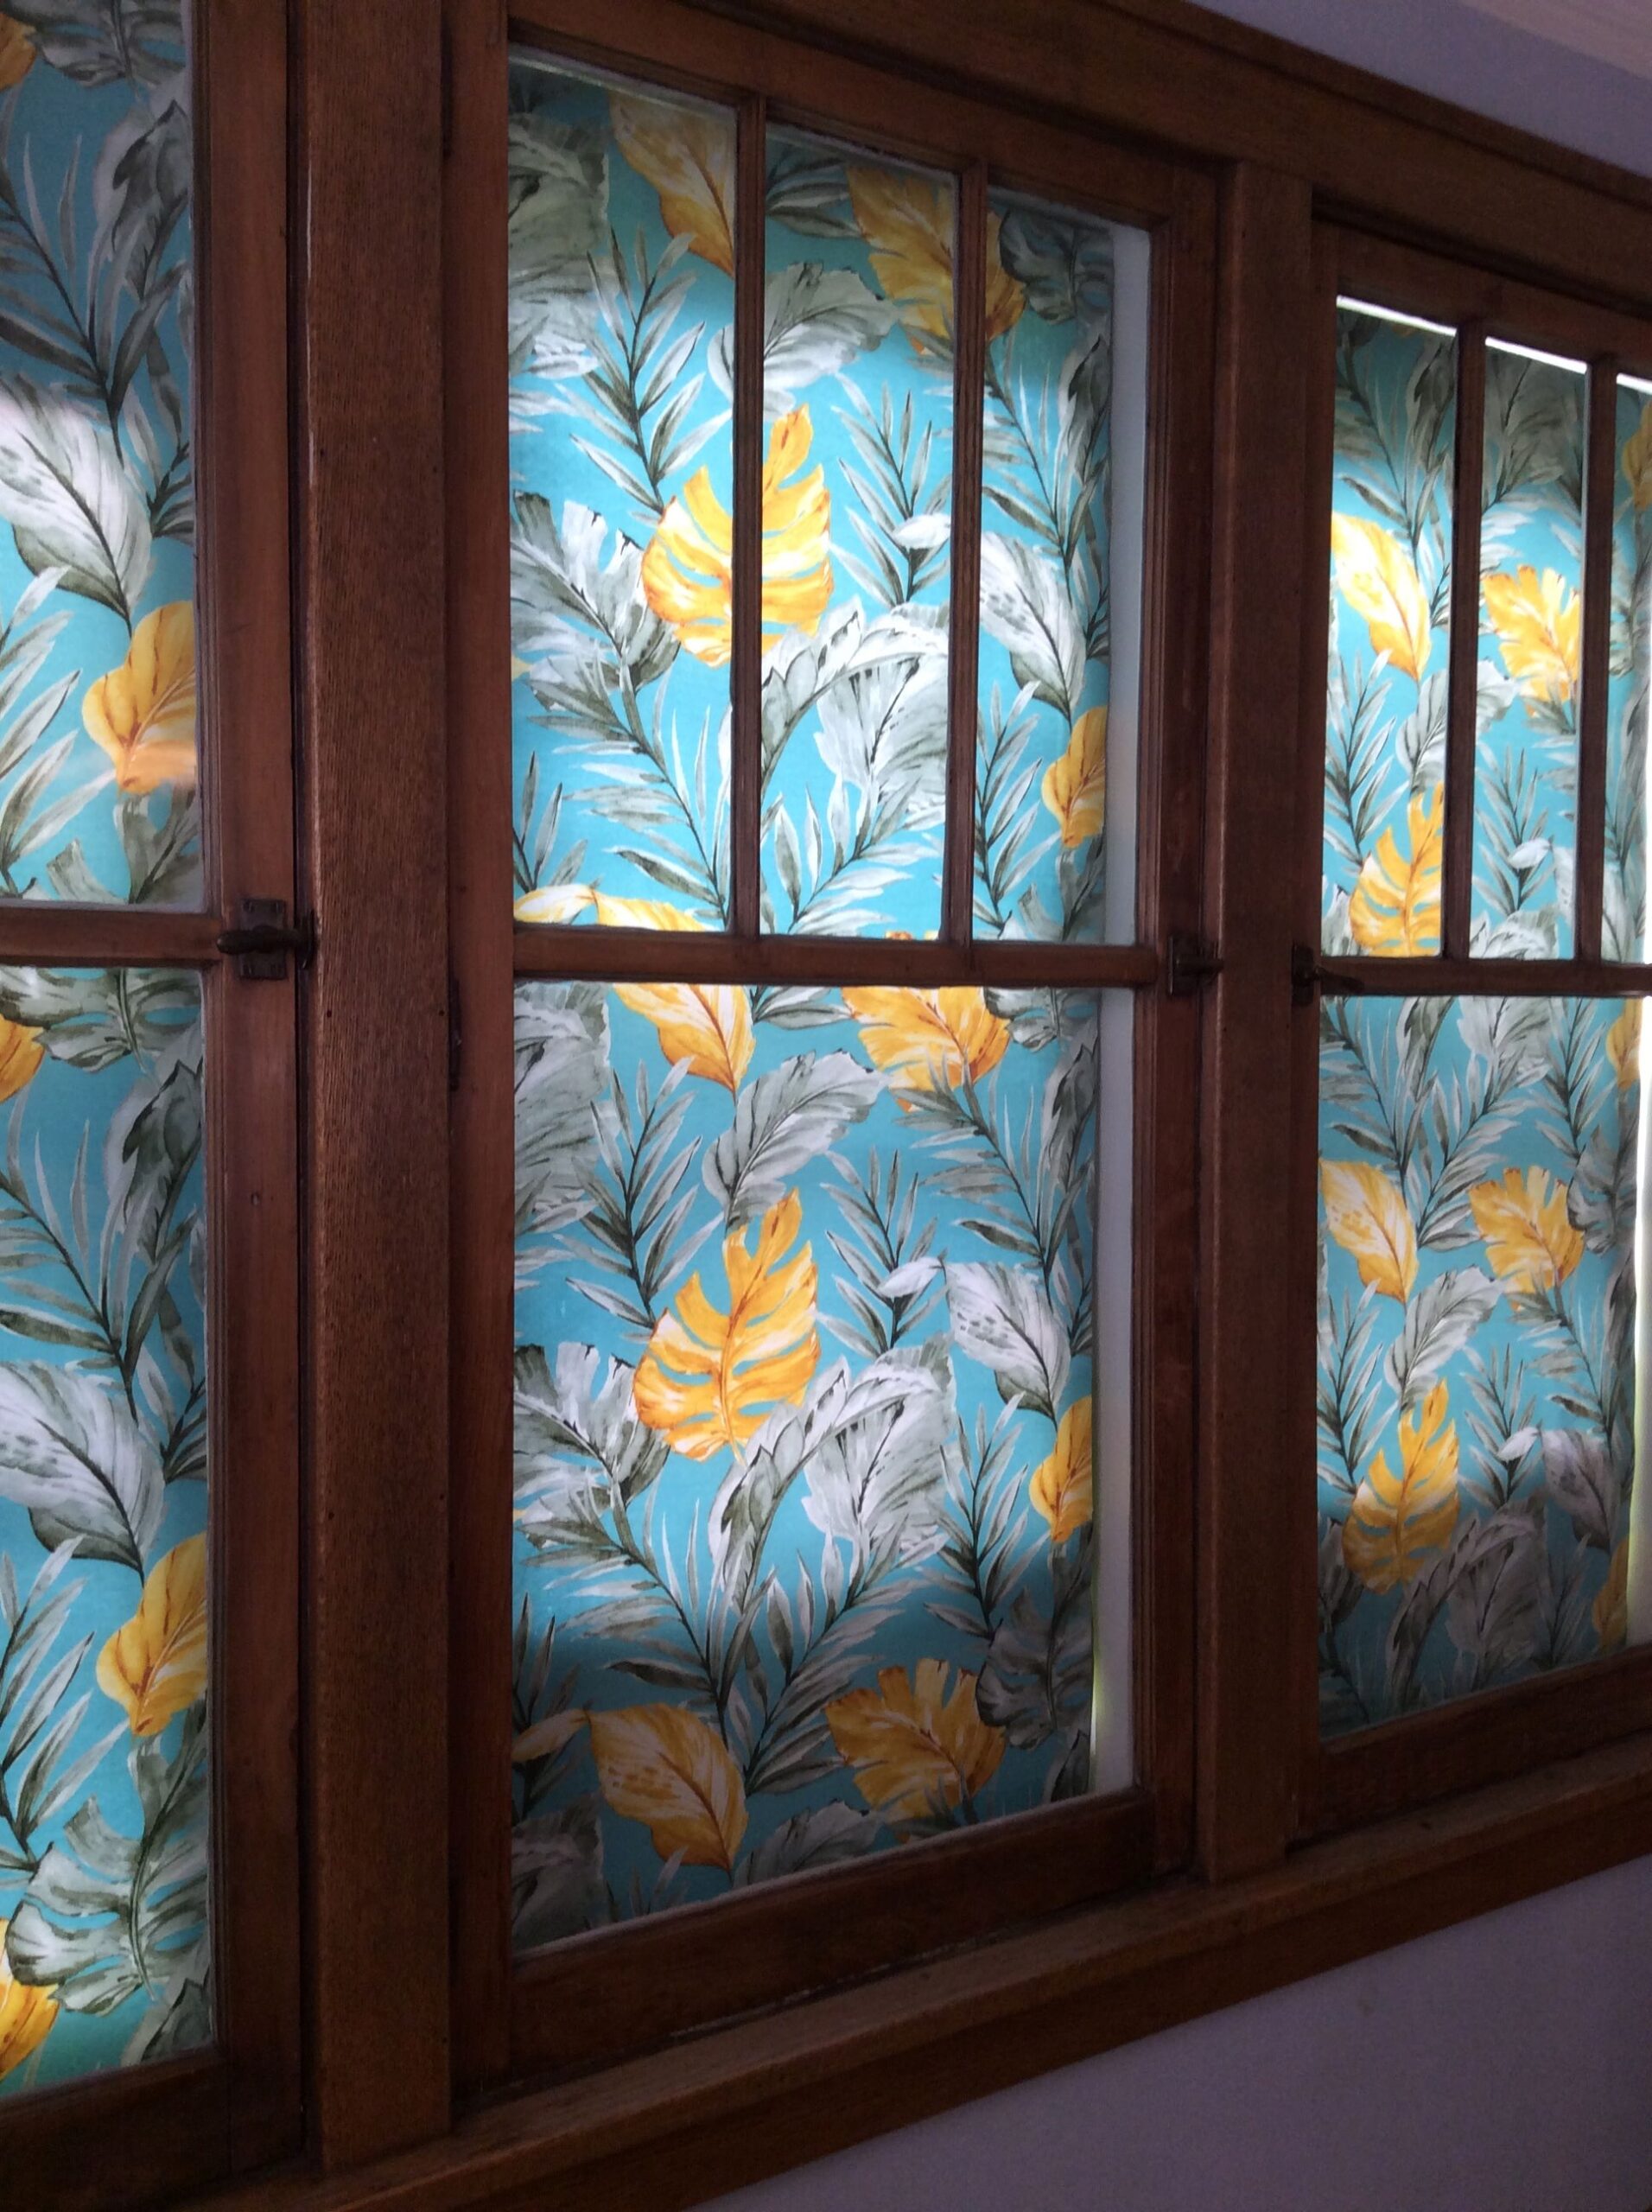
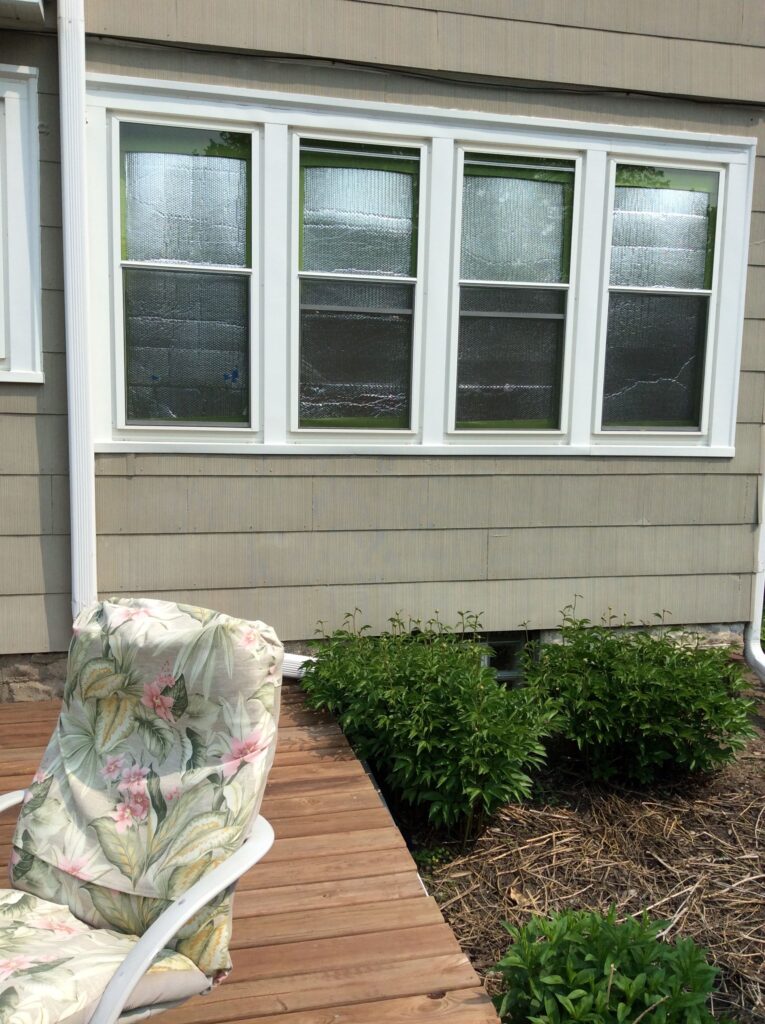
When I painted the living room I took down the honeycomb blinds that covered the four French windows there and I never put them back. While I contemplated a better solution for these south-facing windows, I used reflective insulation to block the summer heat. It worked great, though it looked terrible. However, once the coverings were removed after the hottest part of the day had passed, the unadorned windows made for a beautiful view.
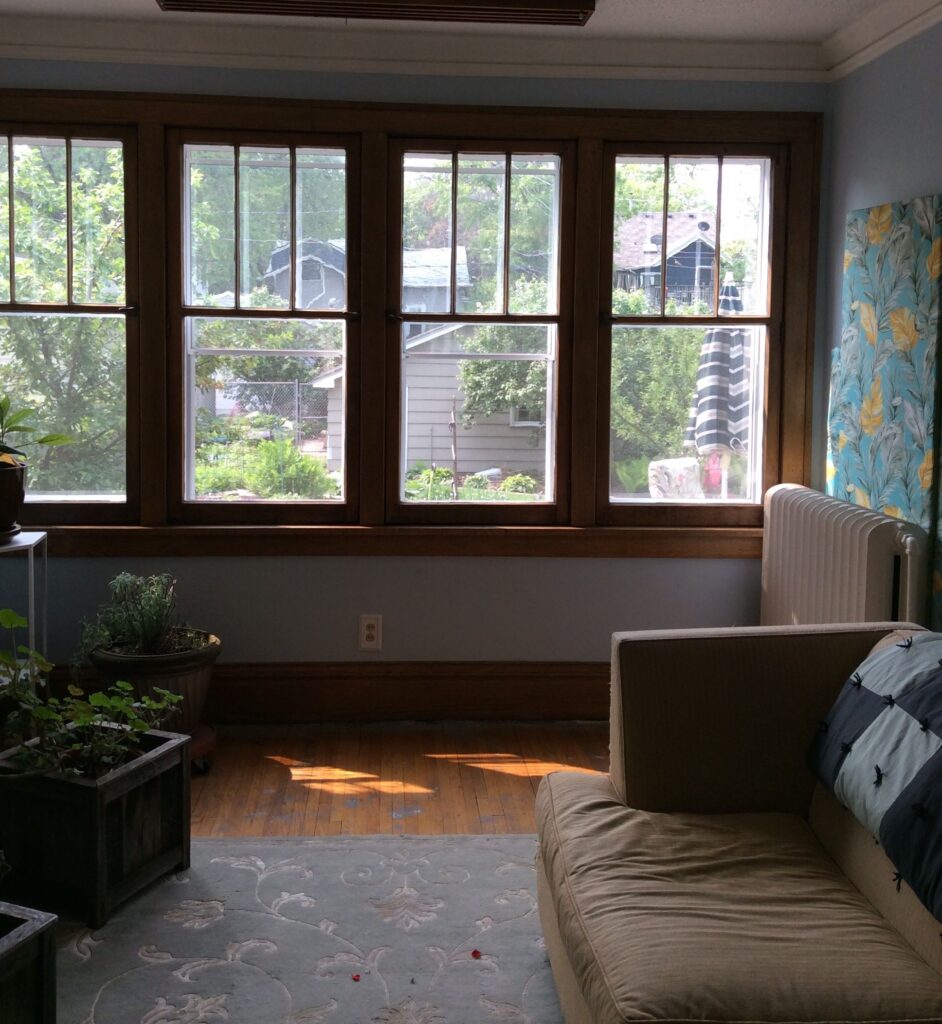
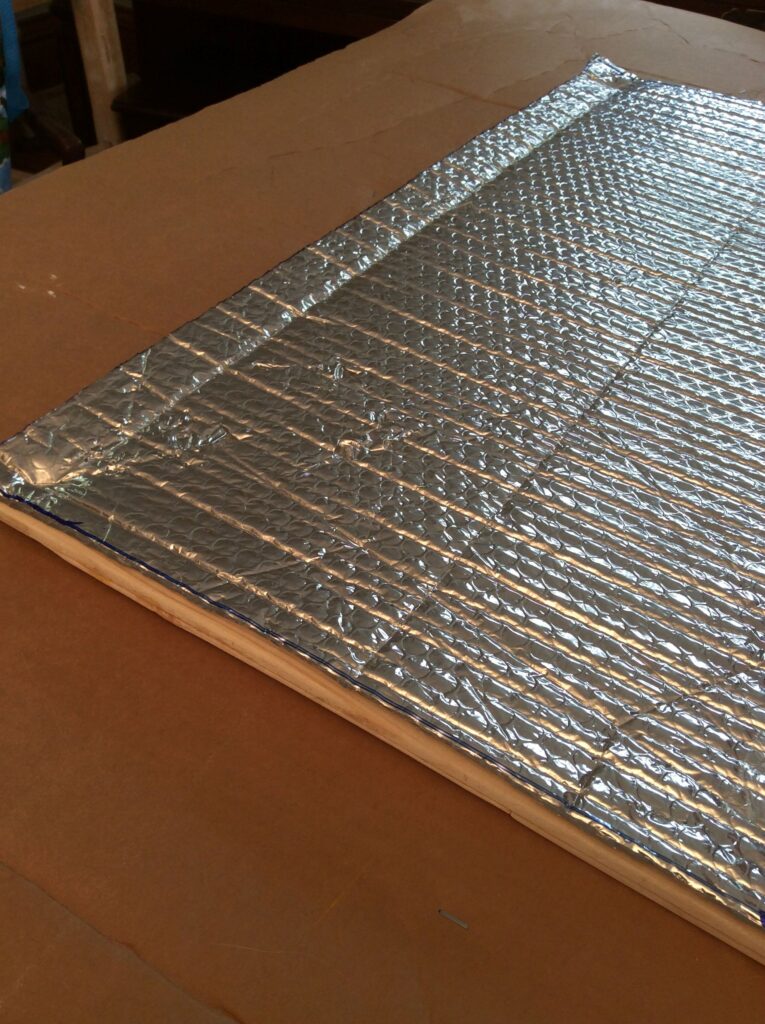
After a few seasons of this, I finally got around to covering the insulation with fabric to make them look nicer from the inside. After a few failed attempts, I figured out that my best option would be to staple the insulation to a frame before covering it.
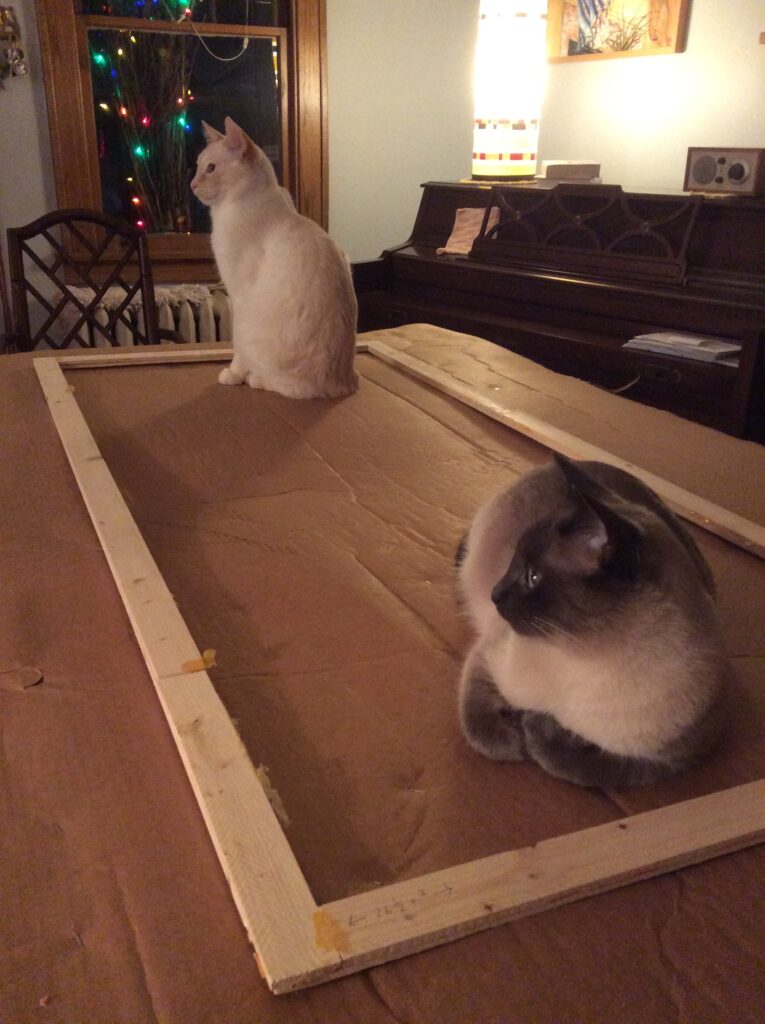
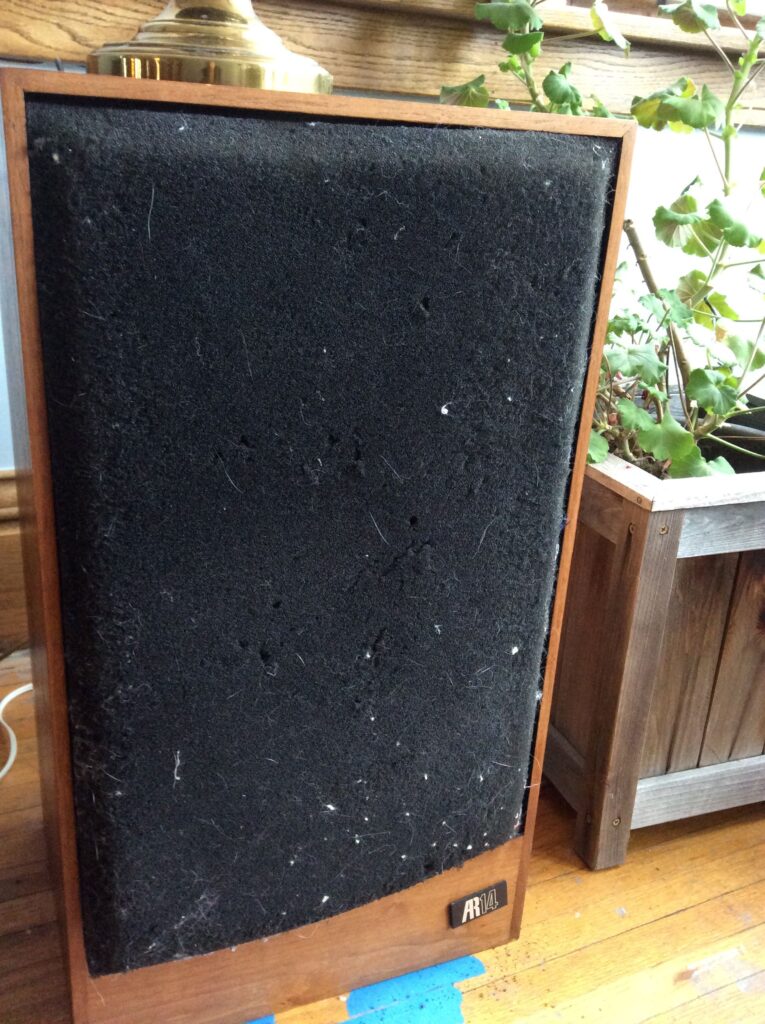
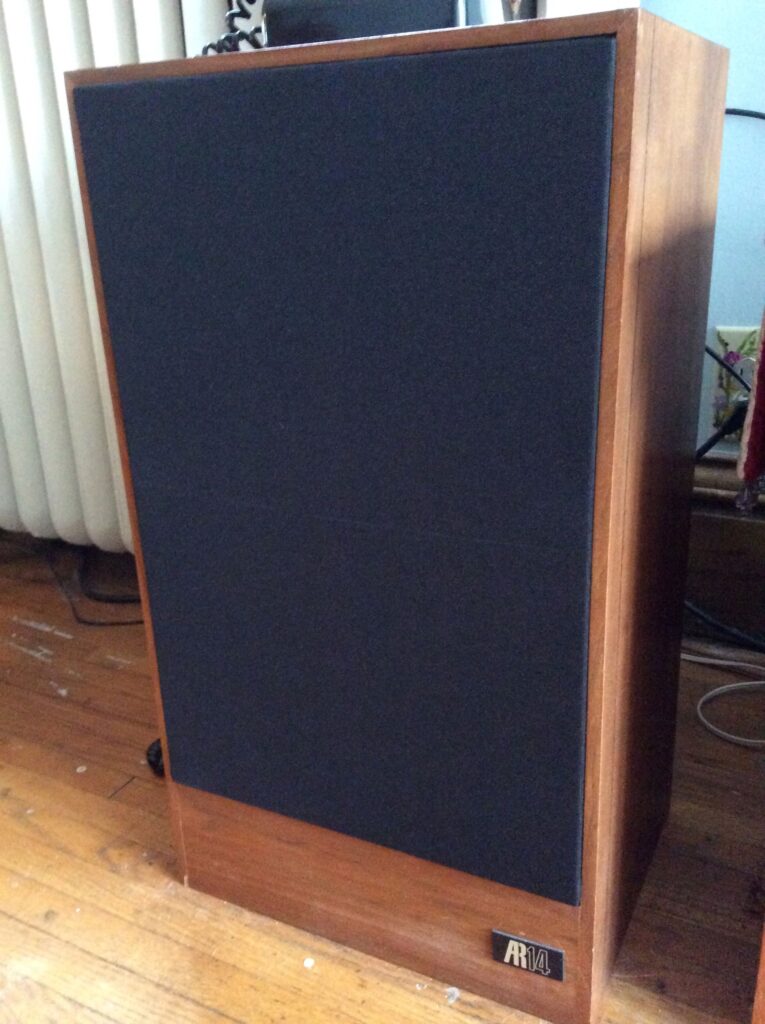
I made similar though much smaller frames to replace the foam on some old speakers with fabric.
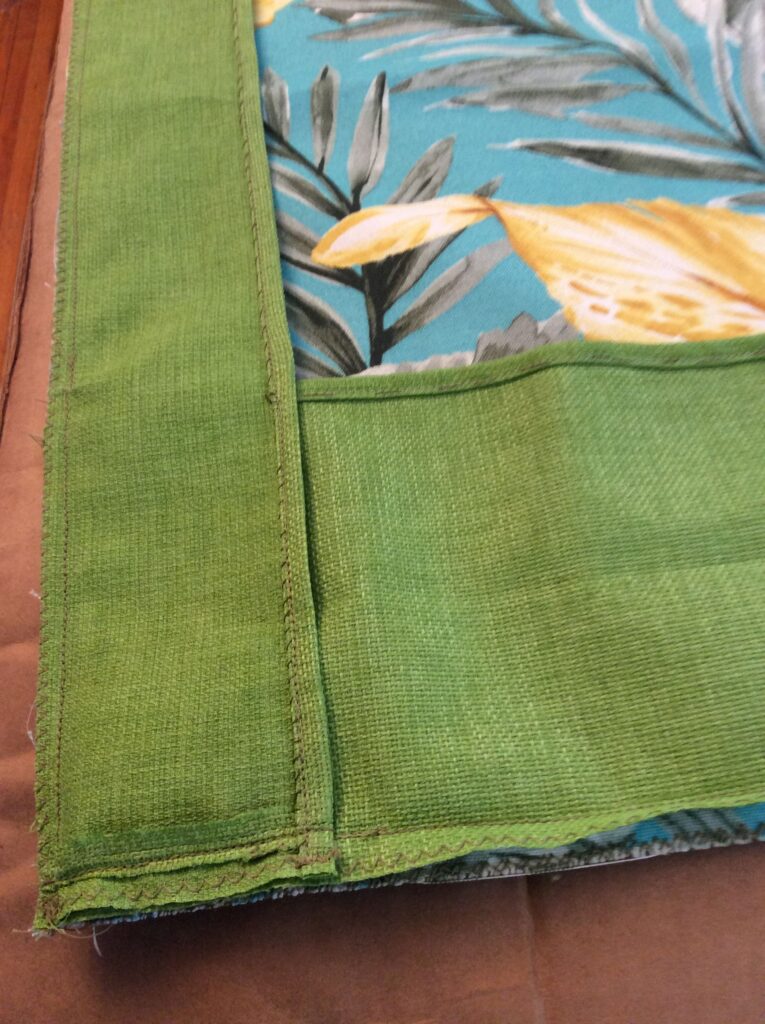
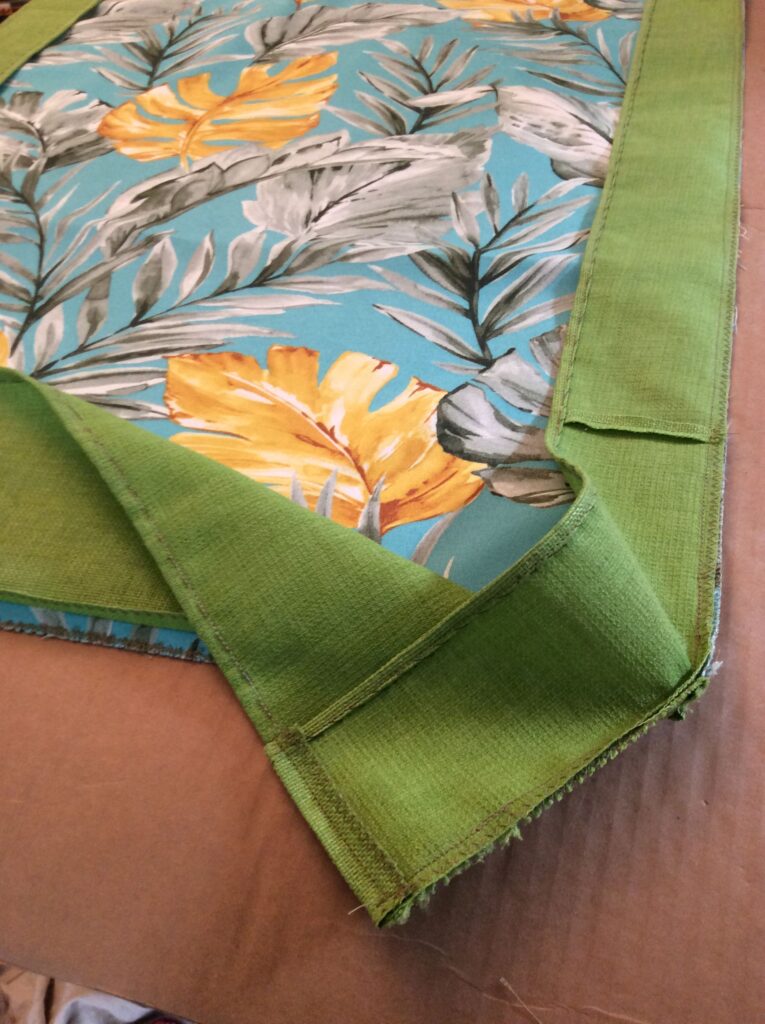
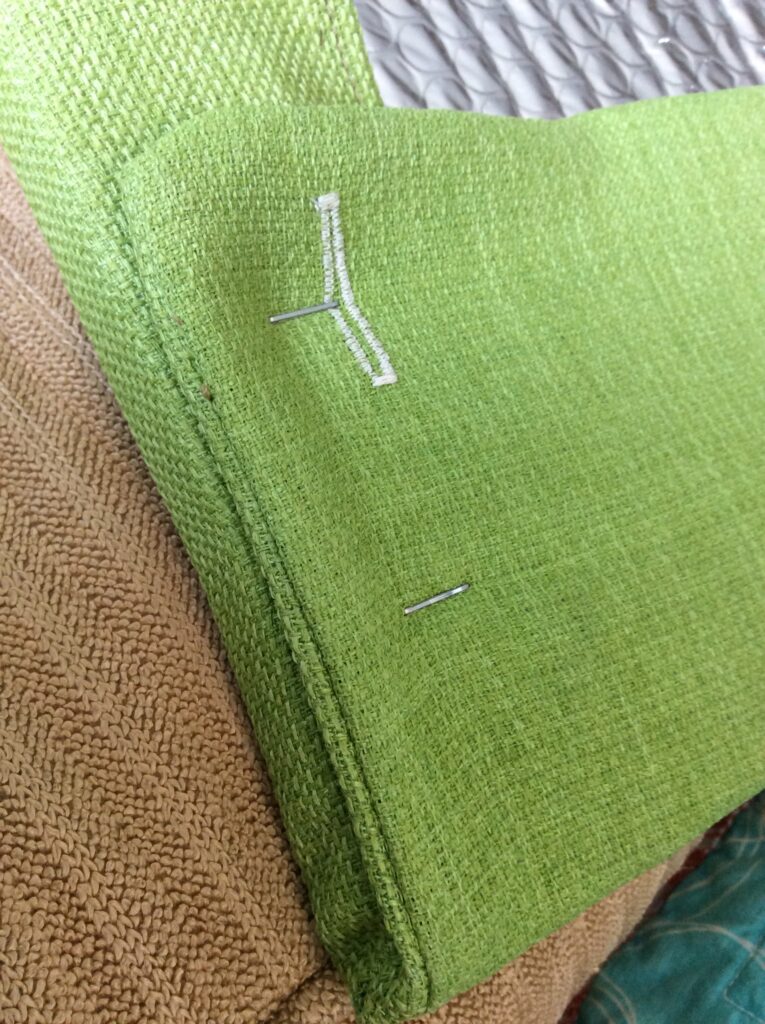
My next problem was designing a washable cover. After some trial and error that made me feel like a monkey involved in some kind of an intelligence experiment (it’s difficult for me to picture things backwards, which must be a requirement of sewing without a pattern), I decided to use four pockets (top, bottom, sides) on the back of the cover to finish the edges and hold it in place.
While I hated to resort to using upholstery staples (as they will make it harder to wash the piece), it was the best option for getting a finished look. Staples were also practical since I needed to make one corner of the cover loose in order to fit it to the frame. As for solving that problem, I tried a few different options, including buttons that could be undone to give enough room to stretch all four corners of the cover over the frame.
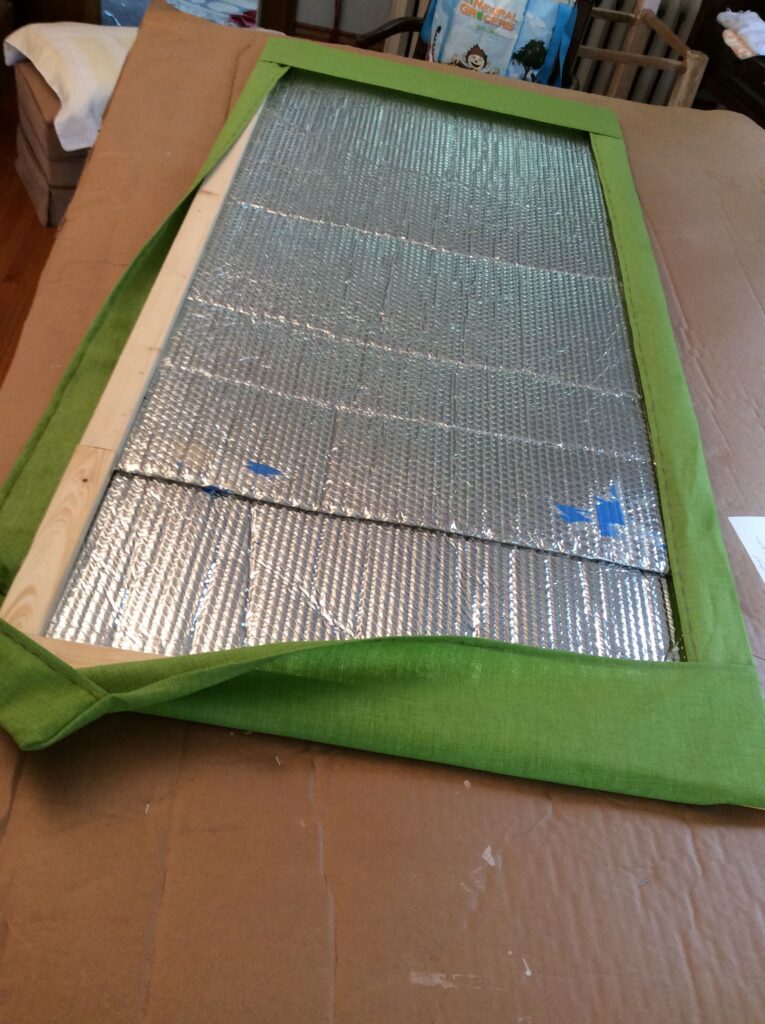
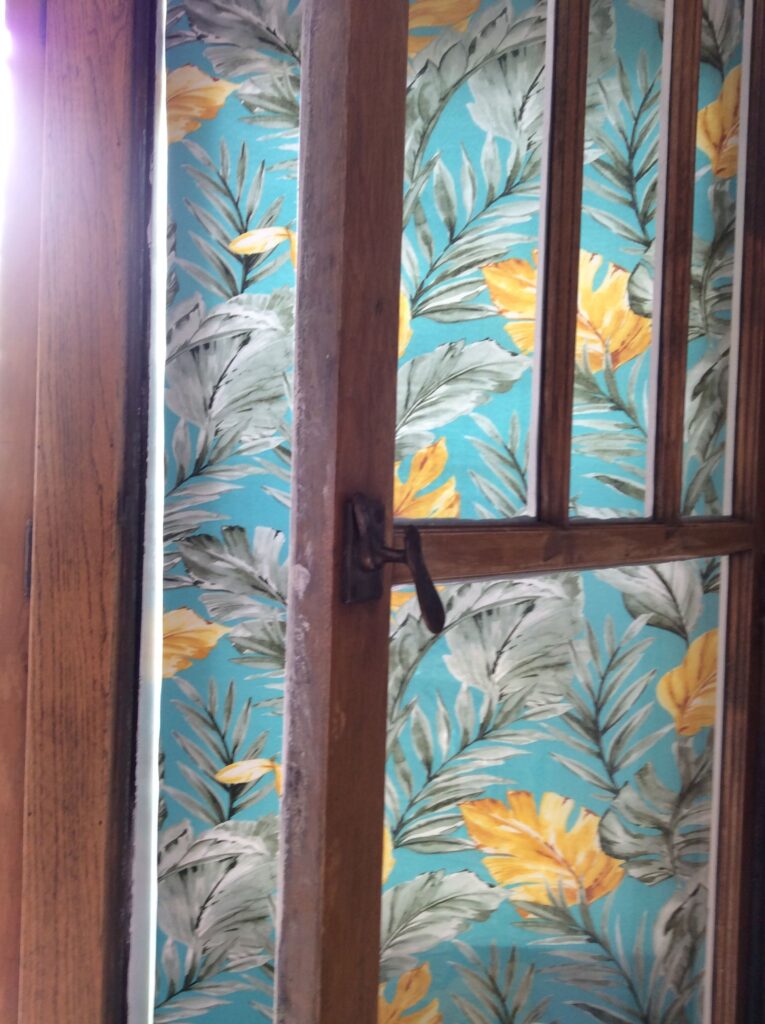
Back when I was using the plain foil insulation to cover the windows, I used blue painter’s tape to secure them. It took me a while to realize that putting the insulation behind the glass eliminated the need for it.
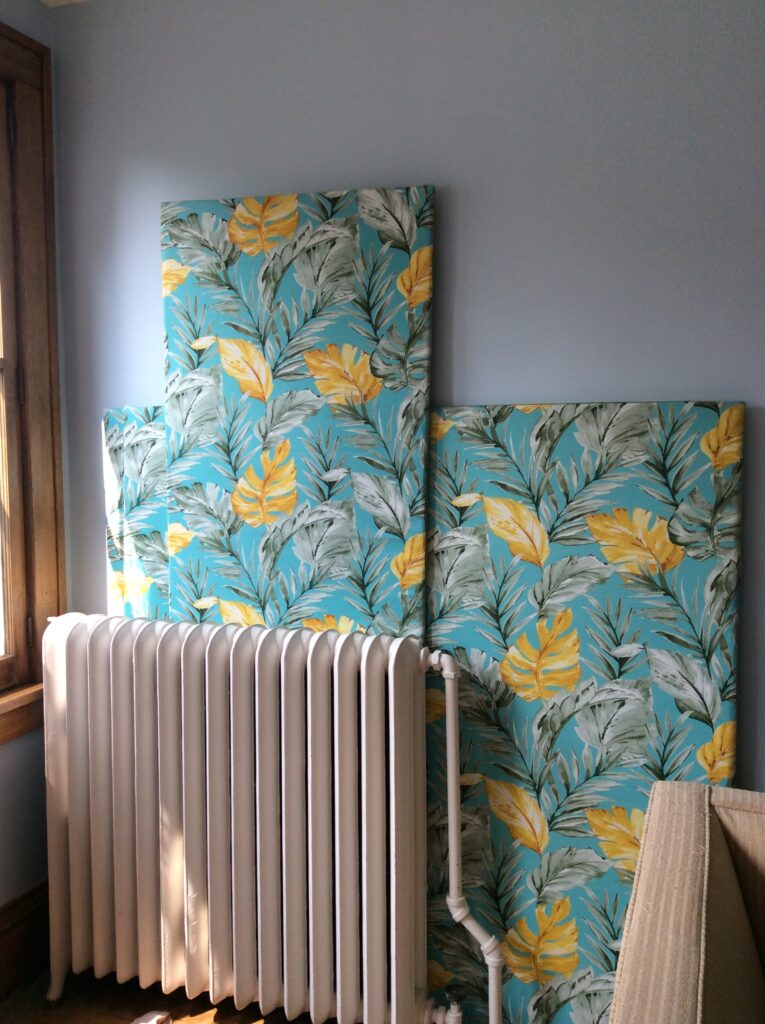
Though the same size, each panel is somewhat different because it took me a few tries to figure out what worked the best. That was a happy day. When I stumbled upon a solution, I felt relieved. It made me realize that while exploring and learning can be fun, it can also be fatiguing to be in the dark for too long. After all of this work, will I have anything I can use?
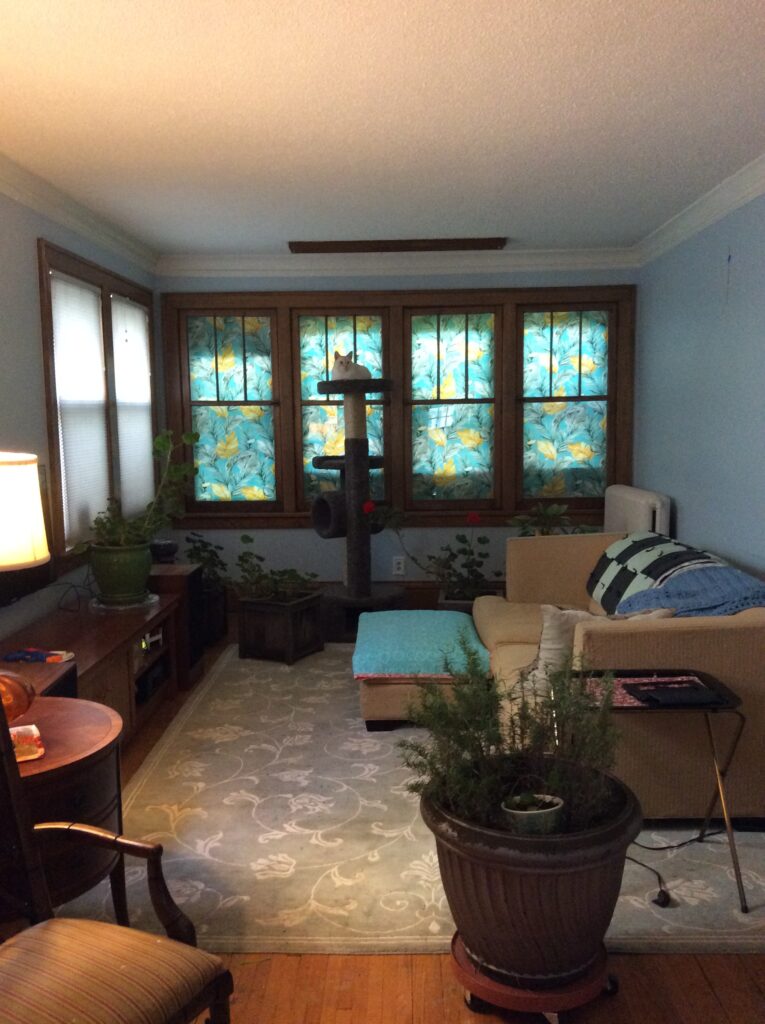
I like the effect of a big painting at the end of the room. While I like the fabric I chose for this project just fine, I don’t recall choosing it. What was I thinking? In any case, it makes the room feel cool (literally – yes – but I mean psychologically) which will be nice when it gets hot. And now that I have a pattern, changing the fabric should be straight forward. It helps that I documented what I did (e.g,, what fabric, what thread, machine settings, seam allowances, etc.).
This started with a paint job years ago when I couldn’t bring myself to put back the honeycomb blinds that never seemed quite right for these windows. One thing led to another and now here we are. Of course, now I’m thinking, why not curtains?
Now that this project is done, I’ve started to do a “reset” and have taken the worktable back out to the garage.
