My uber creative niece expressed no surprise when I told her that I discovered you could sew on paper. I wanted to make money cards for Christmas and one morning between sleep and coffee, a solution drifted into my consciousness such that I understood the perfectness of using a light bulb to represent inspiration. It was exactly like that. Out of nowhere, “I could sew it!” Ding! By 4 a.m. I had confirmed my theory and was loving the results. Old news or not, I might as well have discovered fire.
Needing containers for my collection of cassette tapes that are awaiting digitization and inspired by first considering a grocery bag – a terrible idea as it would have been too deep to be useful – I remembered my experiment and came up with a shorter, more rigid bag that works great.
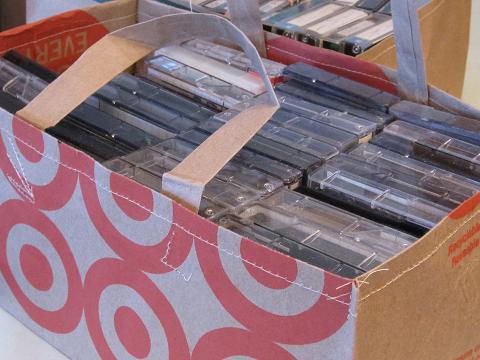
How to Make a Custom Bag with a Grocery Bag
Supplies:
- 2 grocery bags that are the same size
- Ruler
- Pencil
- Stapler
- Marker
- Paper cutter wide enough for the bag; rotary cutter, mat, and straight edge; or scissors and a straight edge
- Tracing wheel
- Iron
Steps:
- Remove the handles of two grocery bags, being careful not to tear the bag or the handles. If you do accidentally tear anything, don’t worry about it. Set aside one of your bags and the handles you just removed for later use.
- Measure from the bottom of your grocery bag up to how deep you want your bag to be. Make a dot at this point with a marker (Dot #1). So, if you are making a bag that will be 5″ tall, you would measure 5″ from the bottom of the bag to Dot #1.
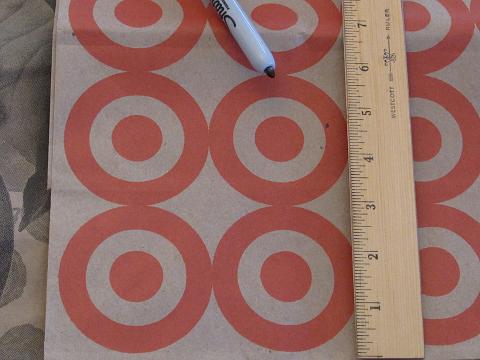
Measuring from the bottom of a grocery bag, mark how deep/tall you want your new bag to be. - By measuring from the dot you just made (Dot #1) upwards to just short of the height of your bag, mark Dot #2. So, if you are making a bag that will be 5″ tall, Dot #2 will be a little less than 5″ above Dot #1.
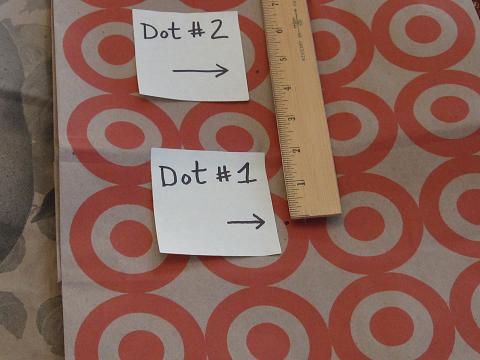
A Sharpie marker works great for marking your dots. -
Cut off the top of the grocery bag at Dot #2, the top dot. Save the cut off piece for Step #6. I love my Swingline paper cutter for this job. A rotary cutter, a mat and a straight edge would also work. If you use scissors, draw a straight line around the bag before cutting.
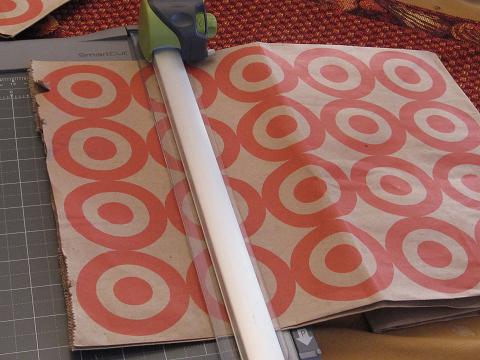
I wasn’t sure if this paper cutter was going to be what I needed. So, far I haven’t run into any serious limitations for the types of things I am doing. 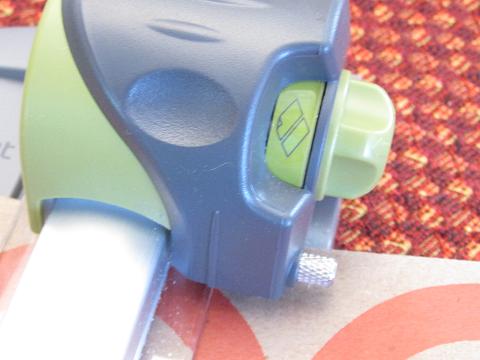
My paper cutter has different settings for cutting, creasing, perforating… - Make a crease at Dot #1. I used the crease setting on my paper cutter to do this and it worked great. A smooth tracing wheel might also do the trick.
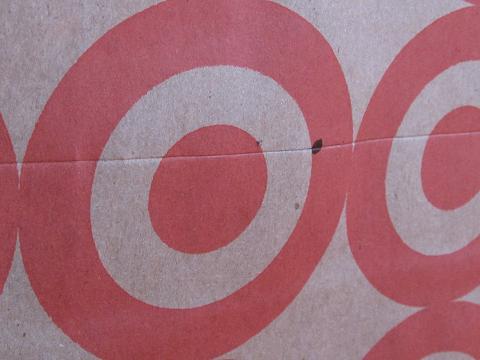
The crease will make folding the bag easier. -
If needed, trim the top of the grocery bag you cut off in Step #4 such that when it is inserted in the new bag you are making, it falls just below the crease made in Step #5. Insert this piece inside the bag, loosely lining up the sides and corners as shown.
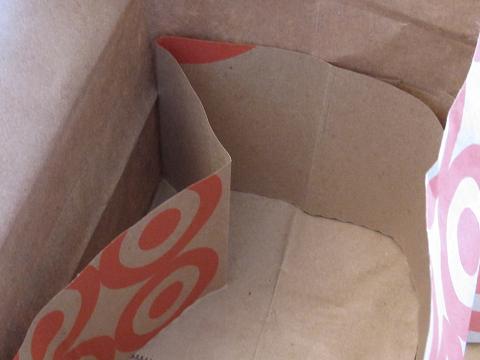
Lining the inside of the bag with this extra scrap will make it sturdier. I turned my liner inside out, thinking that it would look nicer to show the pattern. However, this gets covered up, so skip that step. - At the crease made in Step #5, fold the top of the bag down inside itself. This will cover up the liner you just inserted and hold it in place.
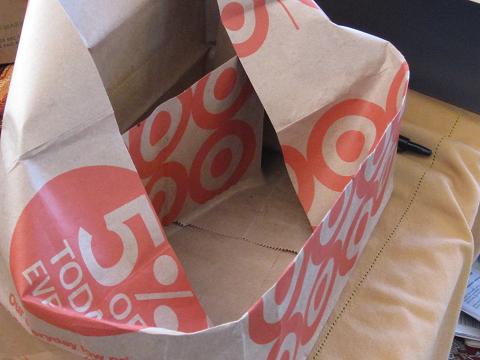
It’s starting to look like something! 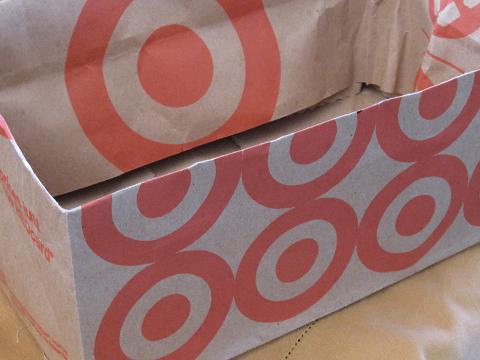
There! - Sew a hem along the top of the bag.
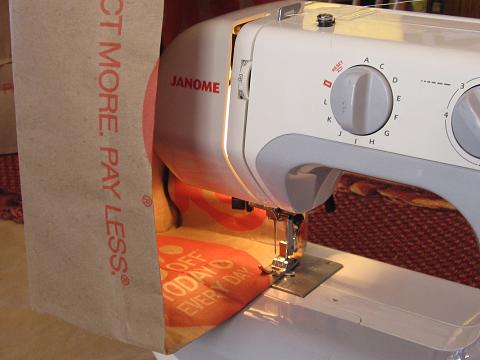
I wish fabric handled as easily as a grocery bag does! Different bags behave differently. 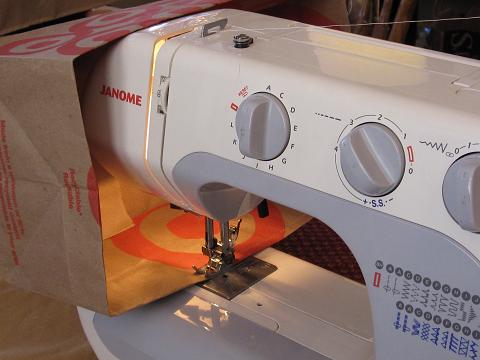
The bag will turn itself as you sew. 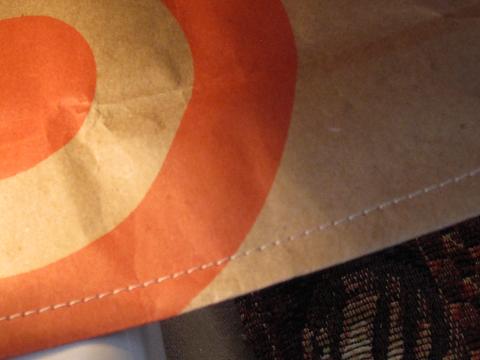
Voila! A low-cost way to practice sewing! - To make the bag more rigid and look crisper, pinch the corners and sew them in place with a few stitches.
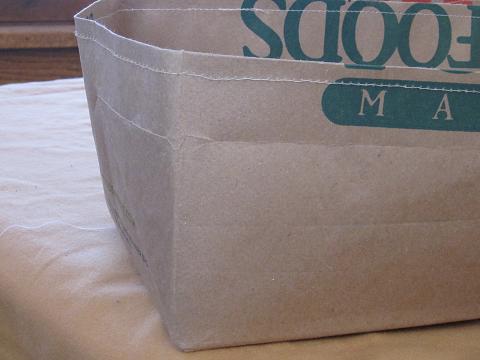
The bag works fine as is, but its sides are buldging a little. 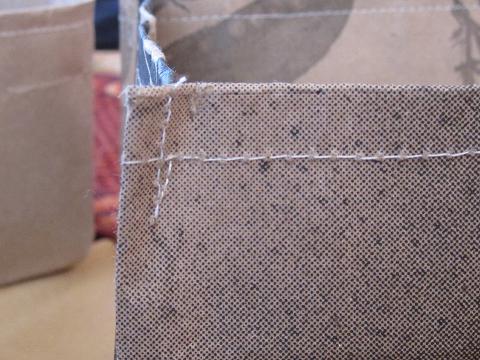
Pinching the corners takes up the slack and gives the bag a neater look. - Sew the handles you saved from Step #1 onto the bag as you like. You can use a temporary staple to hold them in place as you sew.
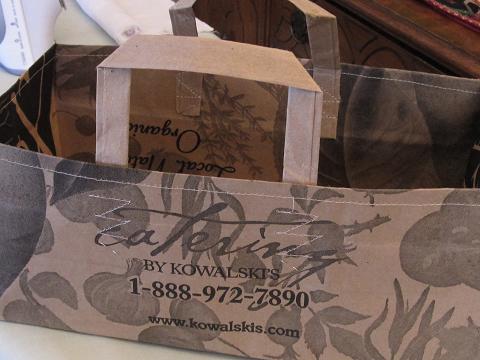
Almost done! 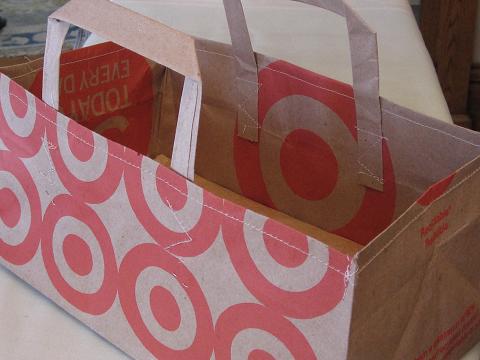
I’m loving how these are turning out! - Fold your second grocery bag (handles removed) such that it is the size of its bottom. Trim off any extra paper that won’t easily fold and stay in place. Sew the folded bag around the edges to hold it together. Place the finished piece in the bottom of your new bag.
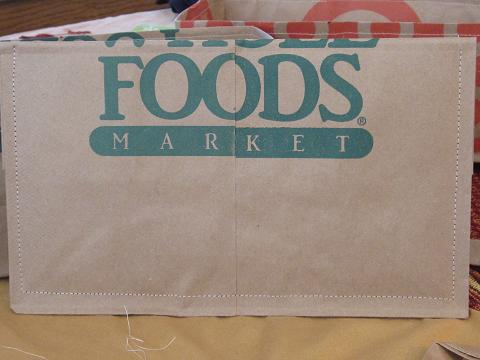
The extra bottom will help hold the bag together. 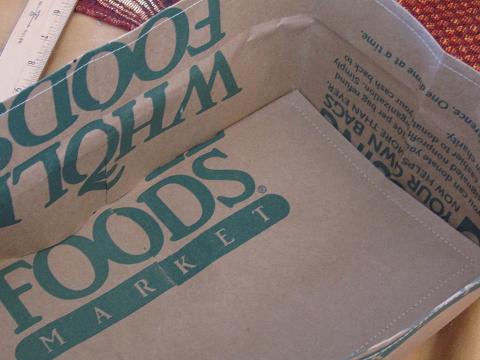
The insert also hides rough edges. -
You can iron the bag if you want it to look a little crisper. Put a cloth between the iron and the paper.

The altered bag is amazingly strong. For example, it would take some effort to remove the handles.
Very clever and a good recycle project and they look good too.