It’s predictable. Whenever I bring a new chair into the house, Bert will claim it.

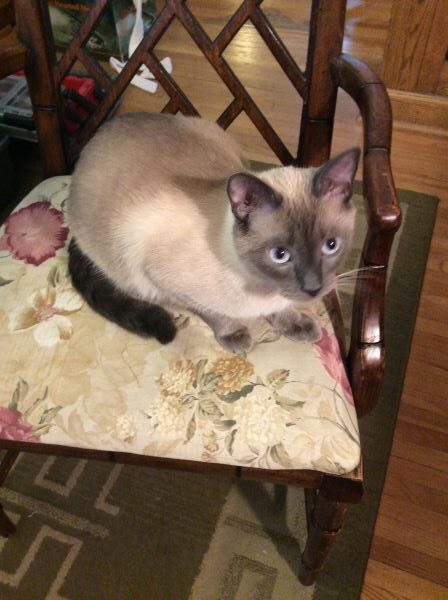
He’s grown quite a bit since I took the above picture, which is to say that it takes me a while to get around to fixing the chairs that I’ve been collecting. Several layers of fabric covered this particular one. Michael liked the floral pattern.
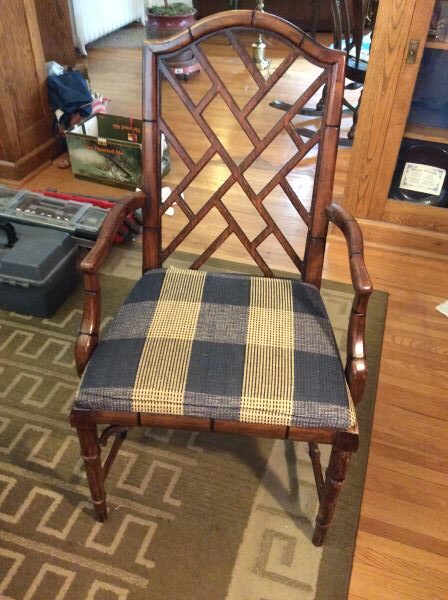
However, someone else covered it with plaid.
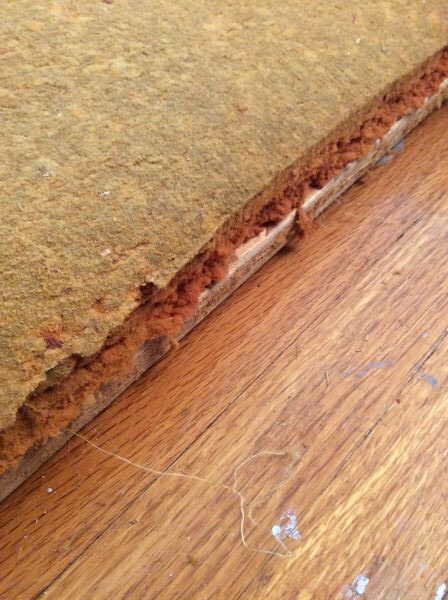
The original upholstery was gold with boxing and piping (sorry, no picture). It’s only a coincidence that I chose fabric in a similar color ($50 +) to cover the new cushion ($25) that replaced one that was gross and crumbling.
Needing practice before cutting into my new not-free fabric, I made a pillow out of scraps. And then I used sheets to make a dummy cover that mimicked the original style, which had boxing with welting along the top and bottom.
I also made a cut pattern using Inkscape, which is a vector-based design program. I know the software just enough to muscle my way through a project like this. Apart from the inherent problems with my plan (see below), it worked great. In fact, I was so excited about this discovery that I wanted to make a tutorial in which I would explain how to draw a rectangle to represent the size of your fabric and similarly how to draw the pattern to scale. The best part was using the “transform” option to put an object at a perfect 45-degree angle for those pieces that are to be cut on the bias. Explaining such basic things is like pretending that I’m Julia Child whenever I make a grilled cheese sandwich, as if anyone needs to be told how to butter bread.
Still, making a quick video might be useful to someone and it would be good to keep up with my video editing skills. One problem. There’s no such thing as a quick video. Somehow, what was supposed to be a five-minute demonstration kept creeping over the half-hour mark. It gave me an appreciation for the preparation, talent and (ironically) time that’s needed to make succinct tutorials.

As for the problem with my cut plan, the cushion has welting/piping/cording on the top edge and the bottom edge. I understood how to attach the top part, even if I still can’t do it perfectly. However, based on how the original cover was done, and limited in experience, I came up with a rather wasteful way of attaching the bottom welting, hence the diagonal strips that are over 6″ wide in my cut plan. Because the cover is stretched and stapled to the bottom of the slip seat, I thought I would need enough fabric in the welting to accomplish this. Unless we’re talking about salt, too much is better than too little when you’re guessing. At least that was my logic.
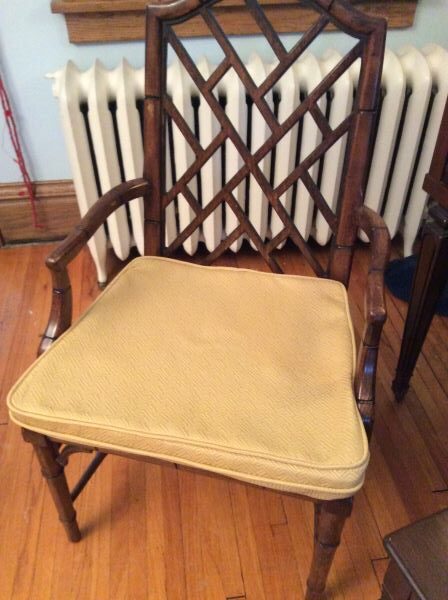
I finally worked up the courage to cut my fabric using the pinking shears that I found in my Christmas stocking last year. I was suspicious of the scissors, as they were not like the ones my mother has, the same ones my sister used to cut her hair when we were kids. My new scissors looked like something you would find in a preschool art room. There were also the YouTube videos that convinced me that a hot knife was essential. What’s the point of starting without it? I understand the contradiction. On the one hand, give me what I grew up with. On the other hand, how am I supposed to cut an accurate line without a tool that I discovered yesterday watching a Salerite video?
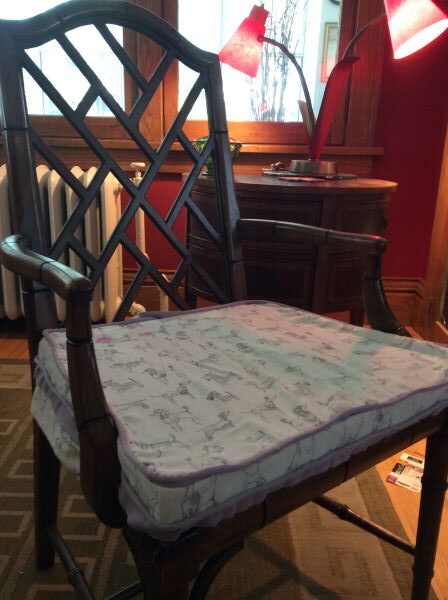
The pinking shears worked great. I made the cover and it fit the cushion fine. It’s pictured above with the new cushion but without the batting (FREE) that is supposed to cover the foam to give it a better shape (and make the seat more comfortable?). For that I used the cotton that I recovered from an old box spring. Because a synthetic covering protected the material, the cotton was clean and in perfect shape. However, it did contain seeds. But given that I’ve found hay and horse hair in some of these old chairs, I figured that it should be okay.
Later I was looking at Steve Cone’s book on upholstery and noticed a different method for attaching the bottom cording, as opposed to the convoluted way that I did it. It is stapled to the bottom of the seat after the cover is stapled in place. This made a lot more sense, as it seemed tricky to attach the bottom cording in exactly the right place on the boxing before it is stretched over the cushion and attached. It certainly required less fabric. It’s probably like a lot of things with upholstery. There’s more than one way to do it. Either way, I opted to undo some of my work and attach the bottom welting with staples as opposed to sewing it onto the boxing.
By accident, I discovered that the welting on the bottom needs to be reinforced with a cardboard upholstery tack strip ($16 for 20 feet). I will also need to get some black cambric to cover the bottom of the chair, which is supposed to be cheap. I thought about using scrap fabric but figured that the cambric is super lightweight for a reason. And though I do have a roll of landscape fabric that seems like it could do the job, I’m going to get the cambric.
Here’s the result, including my test pillow, which is a mess, but I like it anyway.
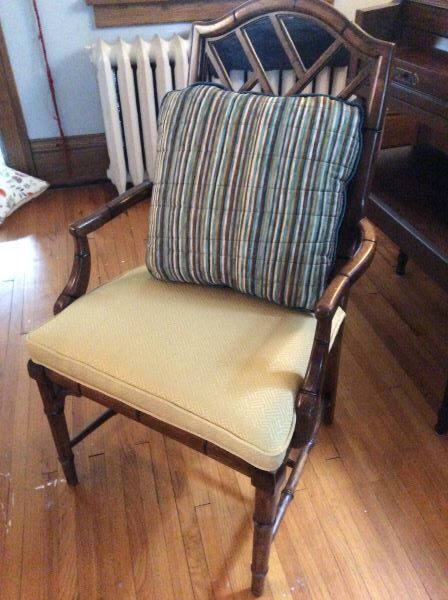
As for forming the “crown,” (you might be able to see the curve of the cushion in the above picture), I put together scraps of polyester batting left over from other projects and placed it under the foam cushion. Absent those remnants, which I’m glad to have saved, could I have used something else? Could I use old socks? And if so, would I need to shred them to keep them from feeling too hard or lumpy underneath the cushion?
Aside from the supplies already listed, there was adhesive and enough staples to do an entire dining set (lots of doing and redoing). In addition, the stretchers on the chair needed to be glued. It’s nice to get to a point when a repair like that doesn’t require a trip to the hardware store, as I had clamps that worked. There were also spots on the legs that needed to be touched up. Again, it was cool to have the supplies on hand. I never addressed the decorative pieces at the corner of the legs, except to remove the broken ones. To make the chair right, I would either need to remove the remaining ones or replace the missing ones. Finally, I still need to screw to seat to the chair (after adding the dust cover/cambric to the bottom).
Taking a class would give me a better eye for what’s done and what needs more work. In this case, I can see the chair isn’t perfect. Some live instructions might be needed to get it closer. For now, this is good enough.
Once again, Bert has claimed the chair in its new incarnation. He still needs to be reminded not to claw on it.
Looks like Bert and Michael highly approve of your new find. It looks really nice and professionally done. I especially liked your detailed account of the work it takes to restore a piece of furniture. Too often people look at a finished project and don’t realize all the work and skill it takes to make it happen.