Category Archives: Sewing & Upholstery

It’s just sewing.

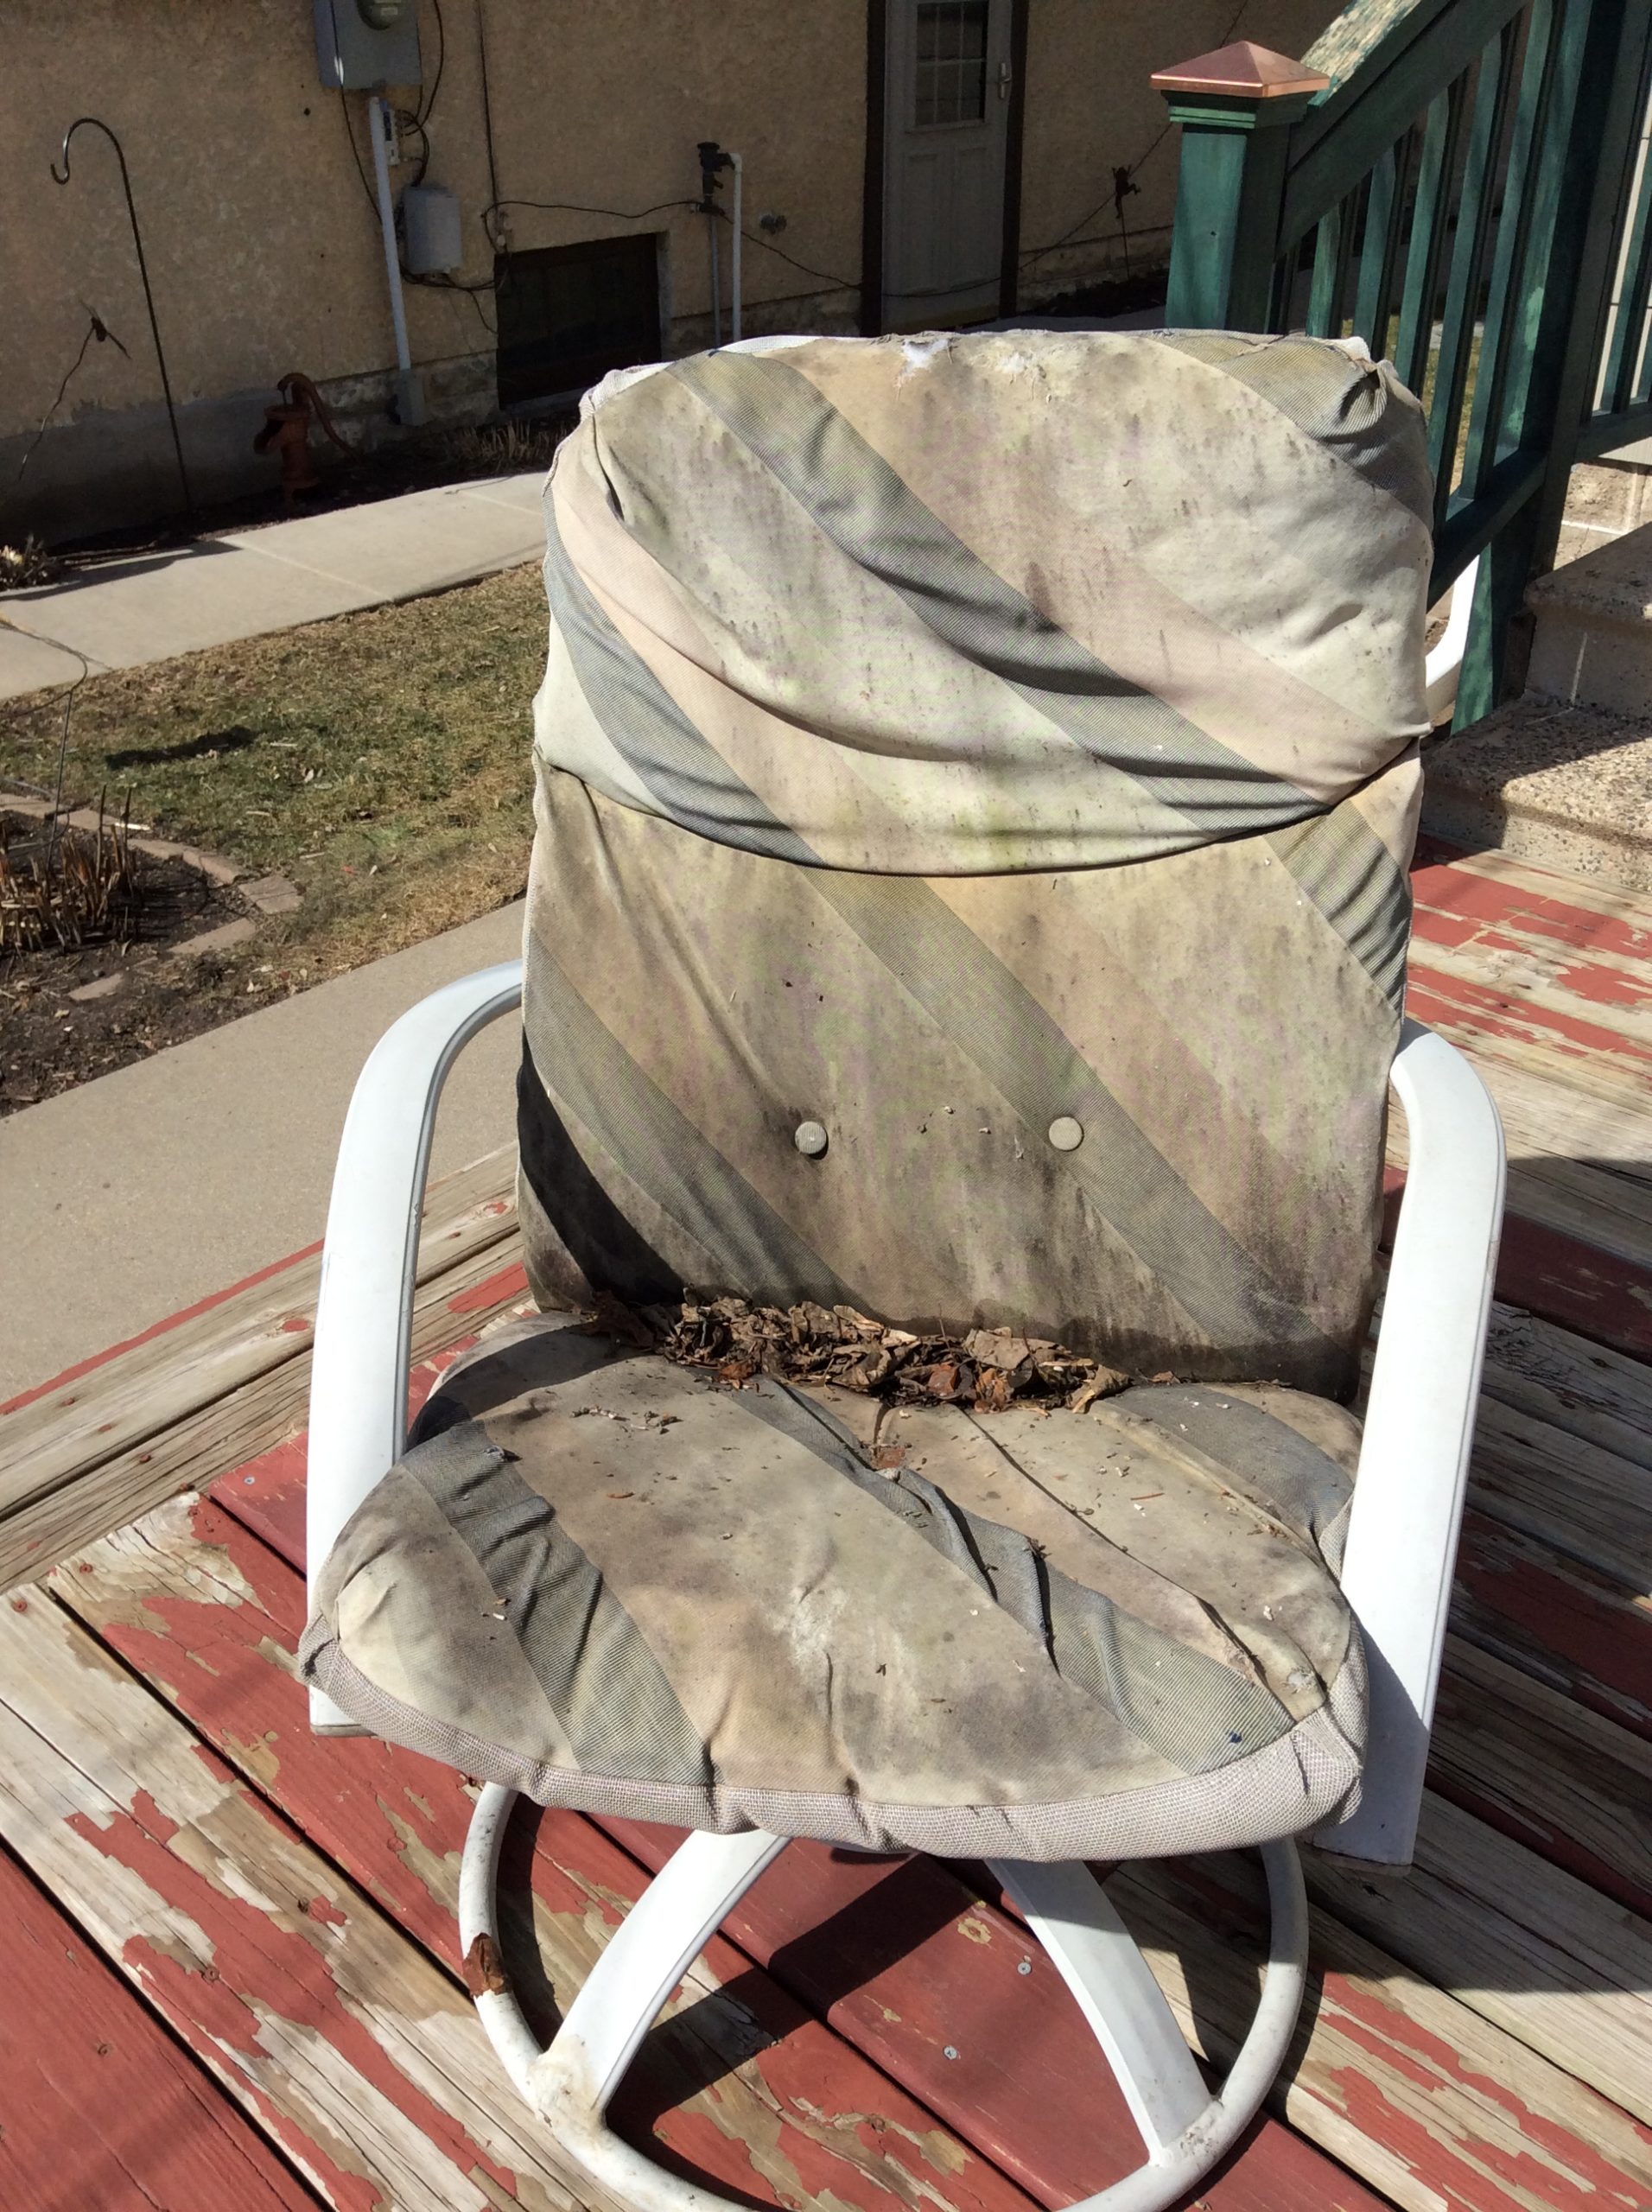
In the past, whenever someone came over to visit and we sat on the deck, I’d throw an old sheet over one of the patio chairs that have seen better days. This was going to be the year to address the problem. We should have replaced the cushions a long time ago when Steve offered to make them at cost. He wanted to return a favor, if you can call being patient a favor.

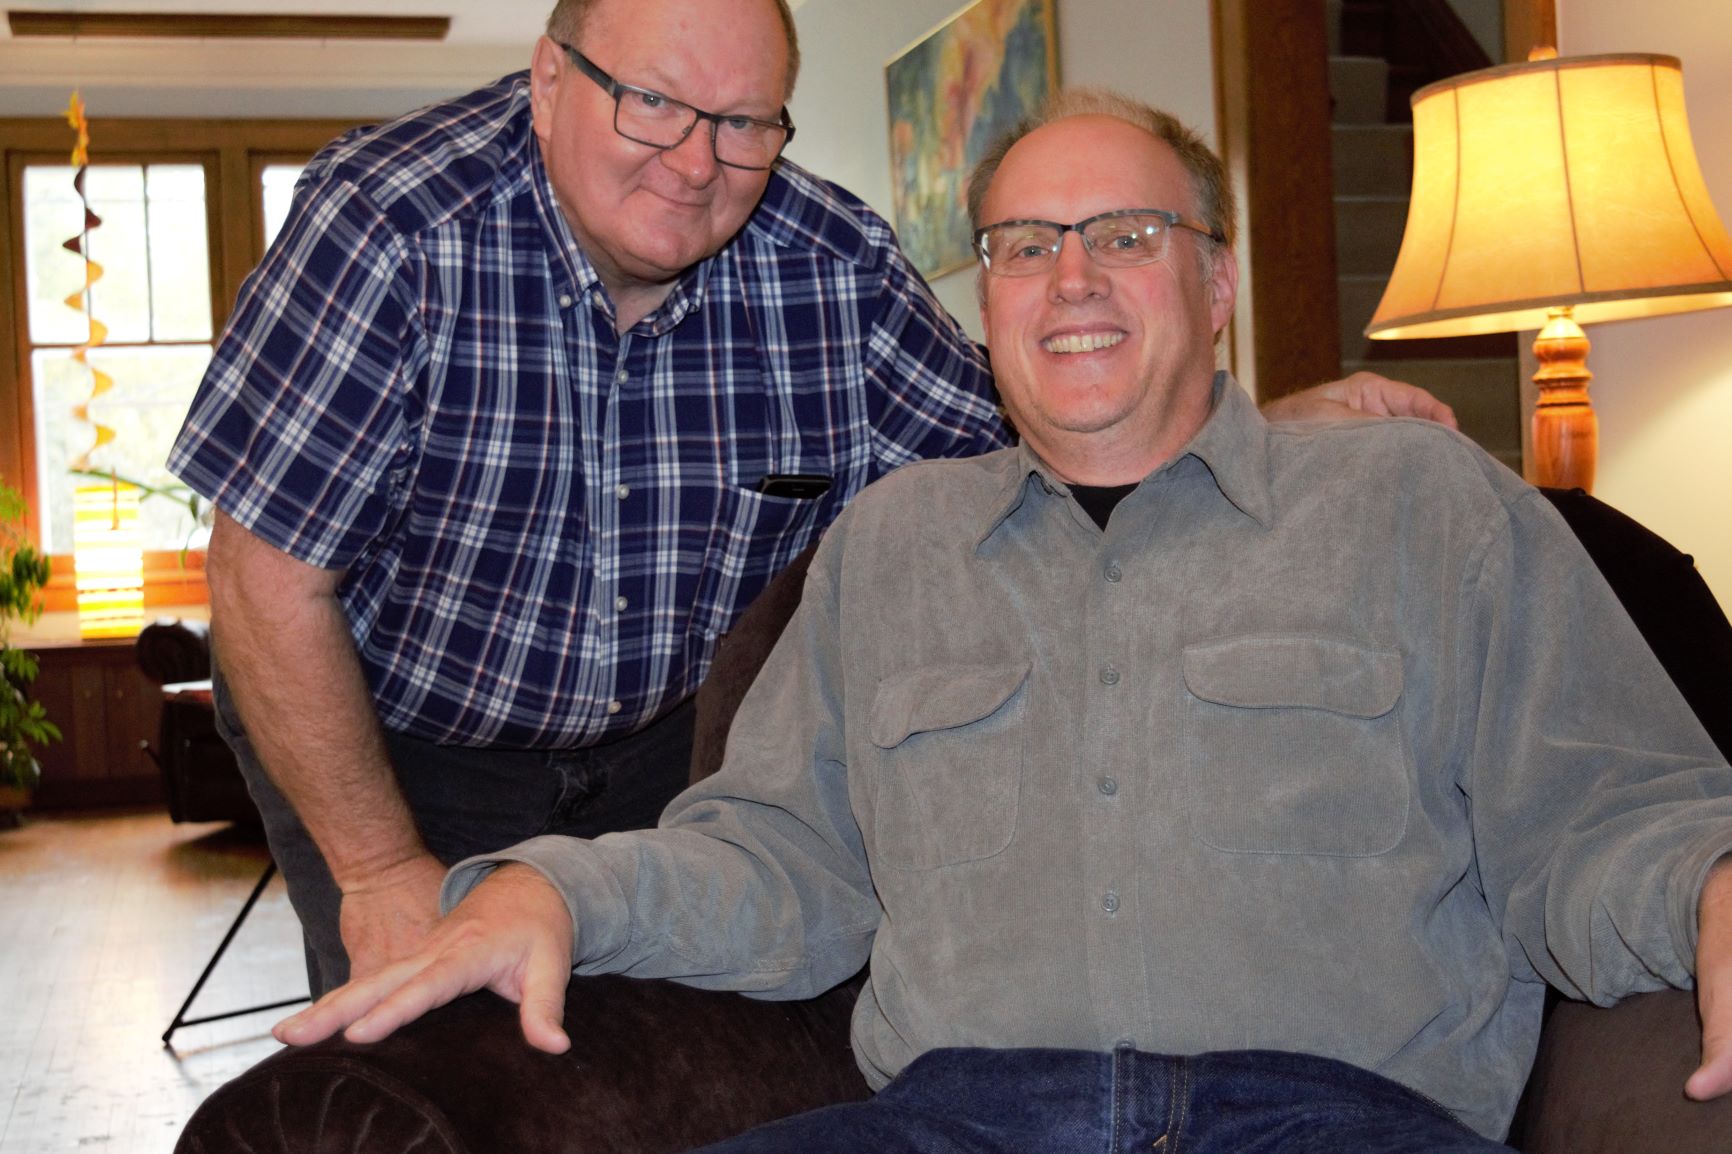
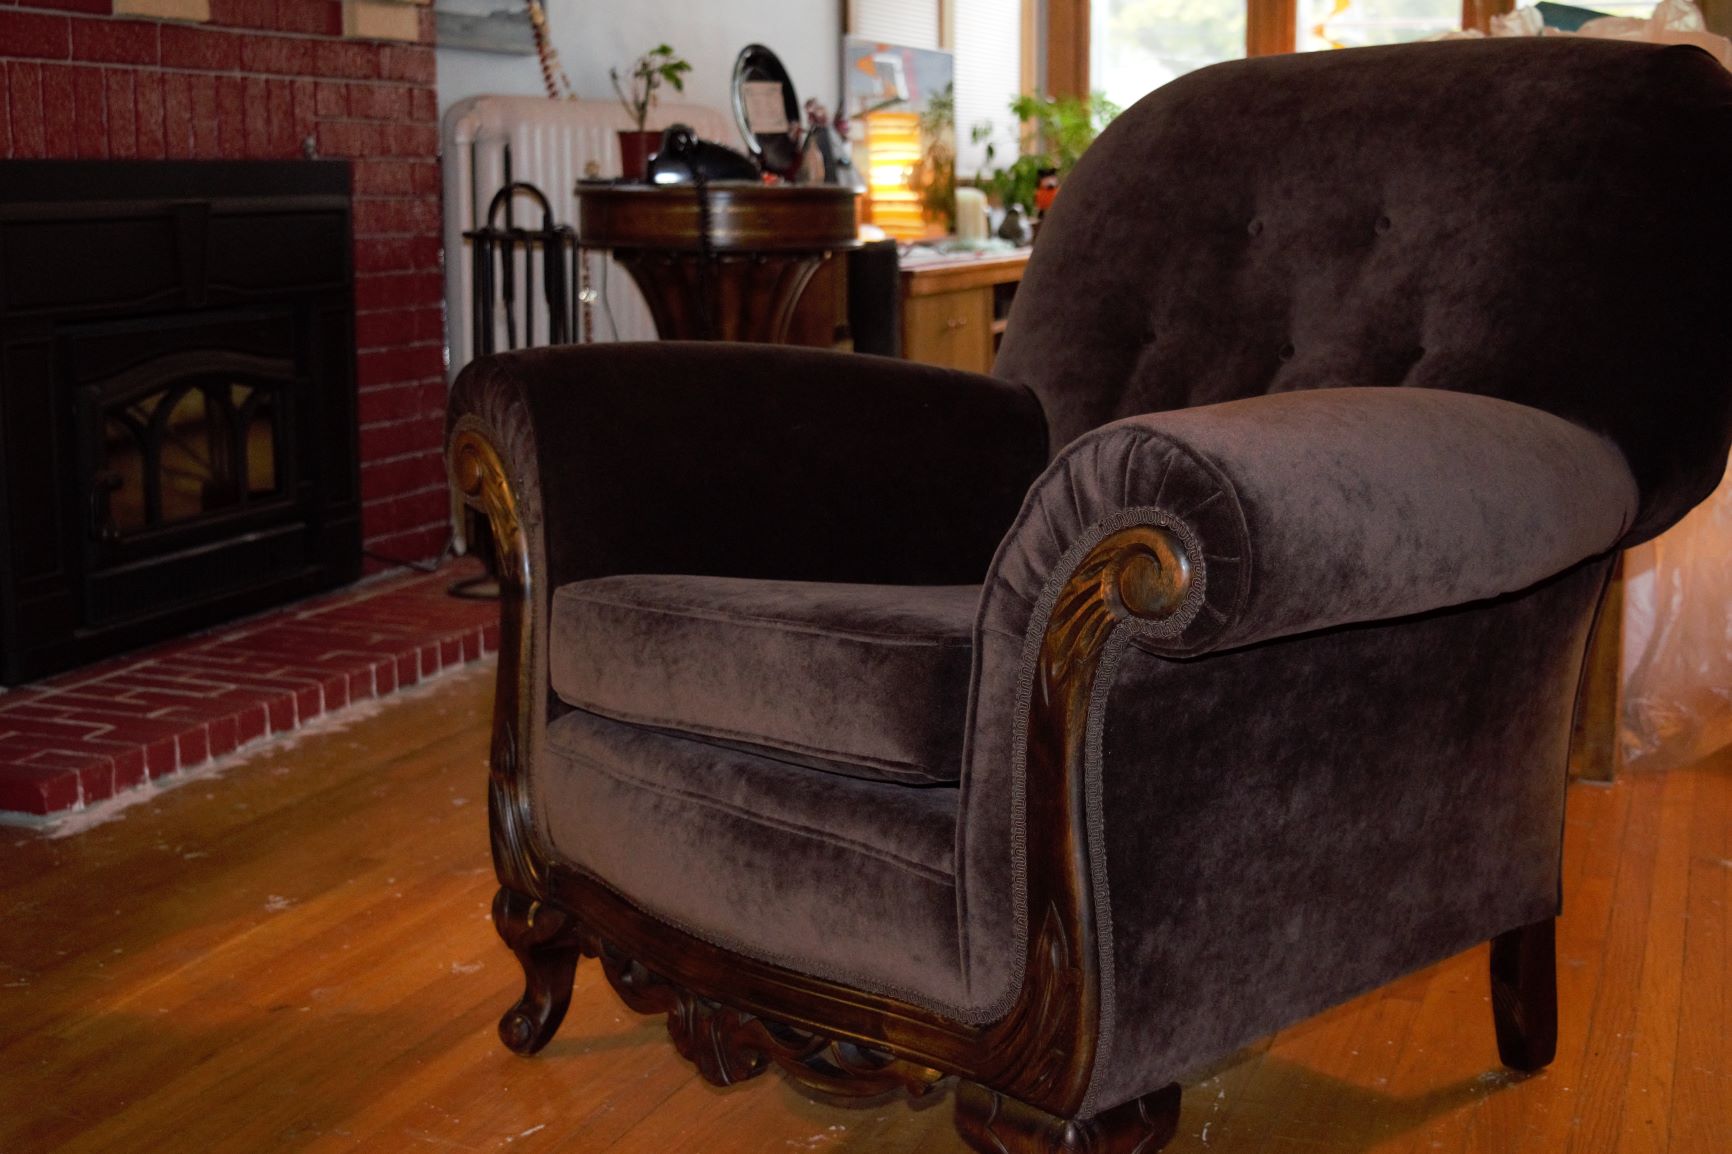
We first met Steve Cone when we hired him to reupholster the old chair that Brian had inherited forty years ago during his time at Rural Sociology at the U of M. While it was supposed to take weeks to fix the chair, due to extenuating circumstances, the initial deadline was blown by several months. We didn’t care. As long as our dusty chair with its springs that dragged on the floor sat in Steve’s shop, it wasn’t in the living room. Mission accomplished, as far as I was concerned. There was no favor to return. But Steve insisted on giving us the deal.

“It’s just sewing,” he said.

It made me think that a person in his line of work must be accustomed to fussing or downright difficult clients.

Steve was a rock star in the world of upholstery and I feel lucky to have crossed paths with him when I had the chance. Recently, when a salesperson at A-1 Foam recommended his book, Singer Upholstery Basics Plus: Complete Step-by-Step Photo Guide, she said “People have started businesses based on what they learned in that book.” I couldn’t help myself and had to make it known that we too had met the man and knew of his greatness. What I didn’t say was that I have good memories of how easy it was to chat with Steve and I feel strangely proud that he felt the same way about me.

Maybe he made everyone feel that way, which would have been another testament to his greatness.

As he went over the numbers for the patio chairs, Steve said that he could reuse the fabric on the back of the cushion, which was this light gray plastic weave that’s used for sling chairs. I wasn’t so sure I liked that idea. I was sick of these awful cushions and I wanted something new. Wasn’t that the point? Whatever we decided, before he could do the job, Steve would need some time to give his hands a chance to rest. In a couple of months, I was supposed to call him to get on the schedule. Then time got away from me, as it always seems to do. When the Christmas card I sent to Steve was returned in the mail, I had a sinking feeling that too much time had slipped away. And I was right. At the age of 71, Steve had a heart attack and died.

He missed the first pandemic shutdown by just a month or so. He also would have missed the last party we had before the coronavirus took over the world. If only we had invited him…

It was a stupid calculation. On the one hand, I could see him at the table. On the other hand, it was early on in the dinner party experiments that Brian and I were planning for the year… So, maybe we should stick with people who we knew would roll with it regardless of whether a silly little game worked as planned or whether anyone had anything insightful to say about the topic at hand or whether the evening went south in some other unexpected way. We would invite Steve once we figured out what could help keep things interesting yet comfortable enough amongst a group that didn’t necessarily know each other very well. In the meantime, there’s no need to torture anyone or to look foolish so early on in what I had hoped would become a friendship. Had I to do it over again… would’ve, could’ve, should’ve… I should’ve trusted that Steve could’ve rolled with it and it would’ve been fine.

So, back to square one with the chairs. “Send photos!” a handful of upholsterers said.

We bought this secondhand patio set fourteen years ago. That pattern strikes me as 80’s but I’m not sure.

So far, there has been one response, not counting a prompt response from Repair Lair that doesn’t do upholstery even though It’s just sewing.:

Rebekah,

These cushions are pretty complicated and definitely beyond my sewing skills….

S*

At another place, we were warned to be prepared for how expensive cushions can be: “The stuff made in the factory is cheap. So, when you have them custom made, they’re going to cost you more than what you paid for the entire set.” In addition to that, a backlog of work meant that it would take weeks just to get an estimate.

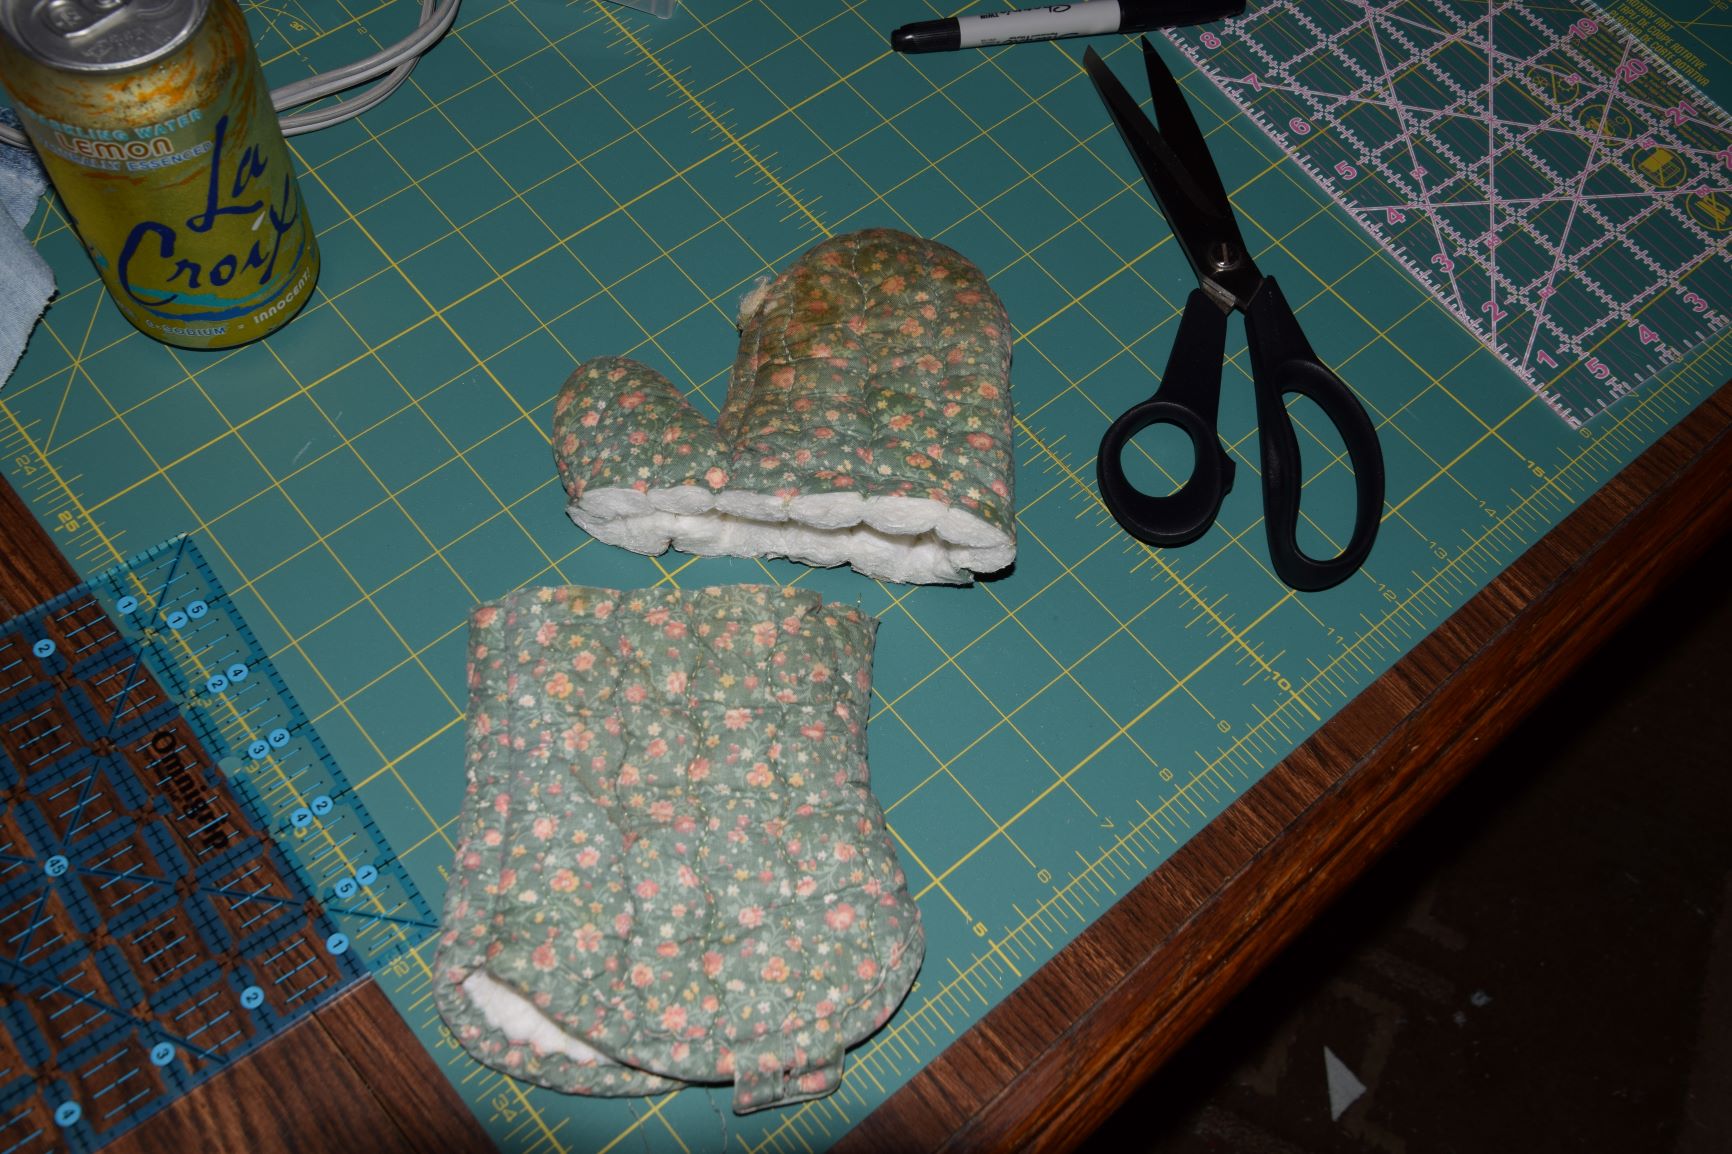
Next stop: A big box store where they stock bolts of fabric so that a person can walk out with a yard. Probably inspired by watching too many YouTube videos, I would try to repair the cushions myself and I needed supplies to experiment. Whether my consumer-end sewing machine was up for the task was just “part of the discovery process,” as Brian likes to put it.

So far, so good.

Bert approves of the newly recovered chair, though he was also happy to claim the dirty naked Dacron that’s been sitting on the floor by the front door for the last few weeks.

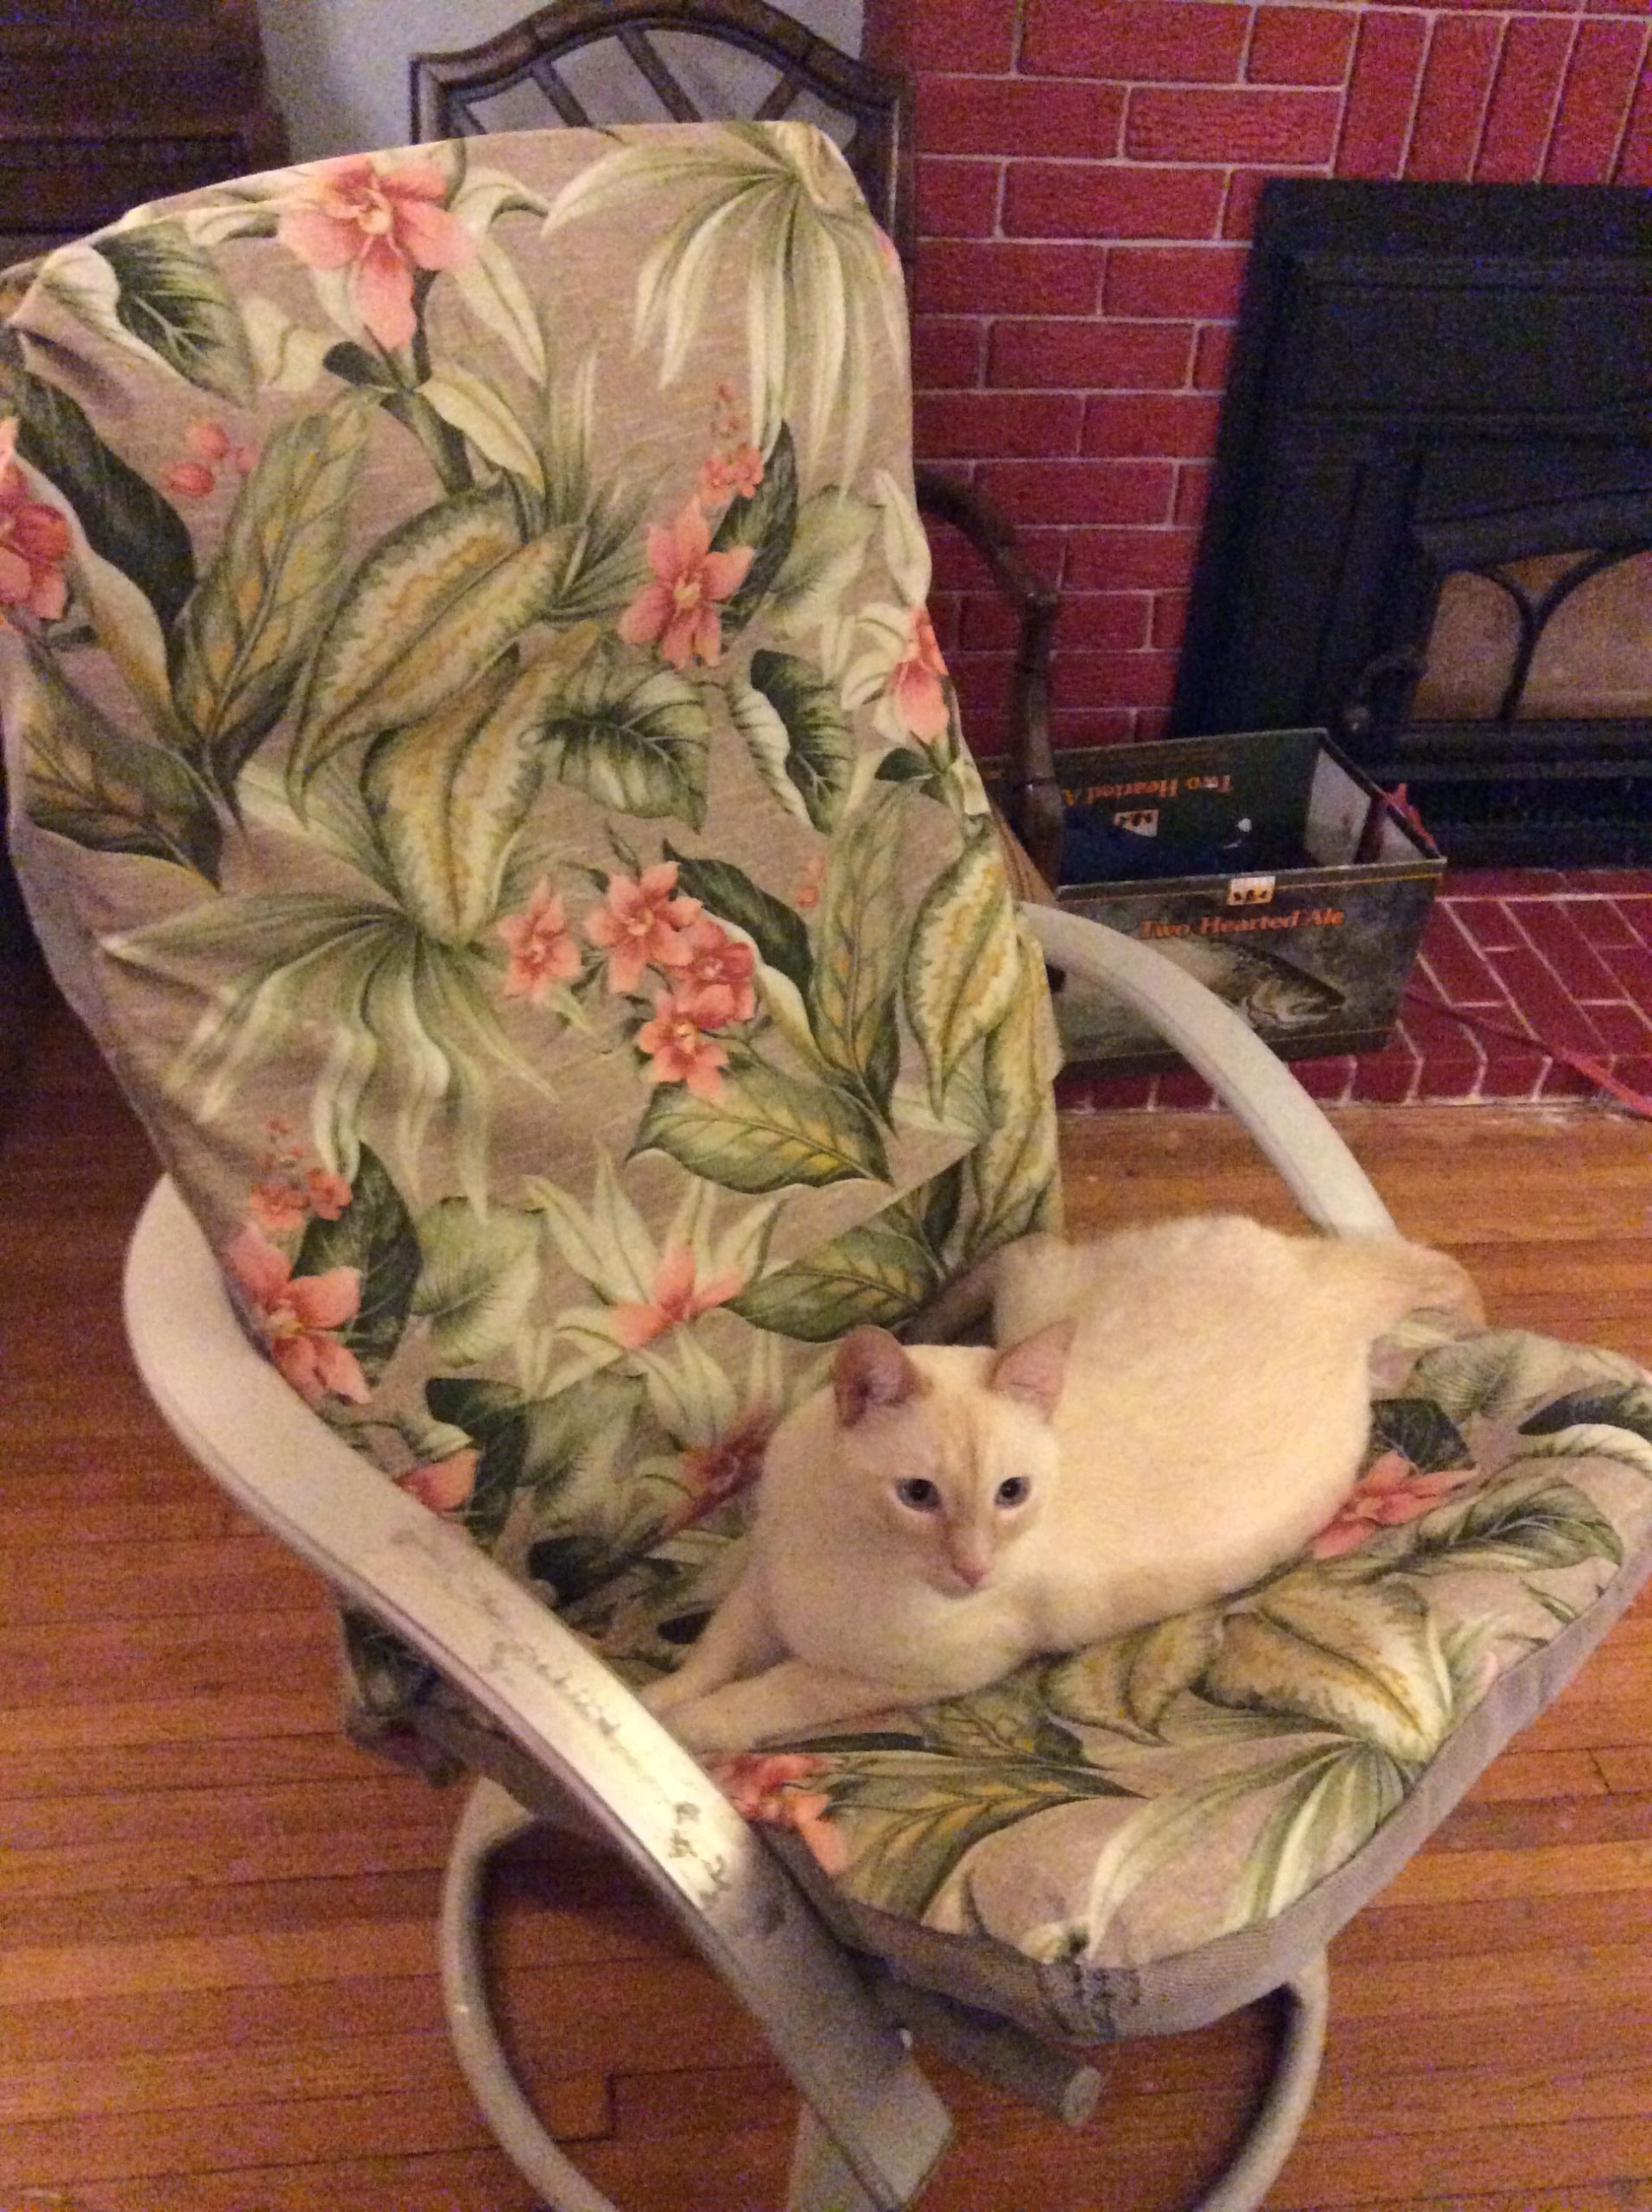
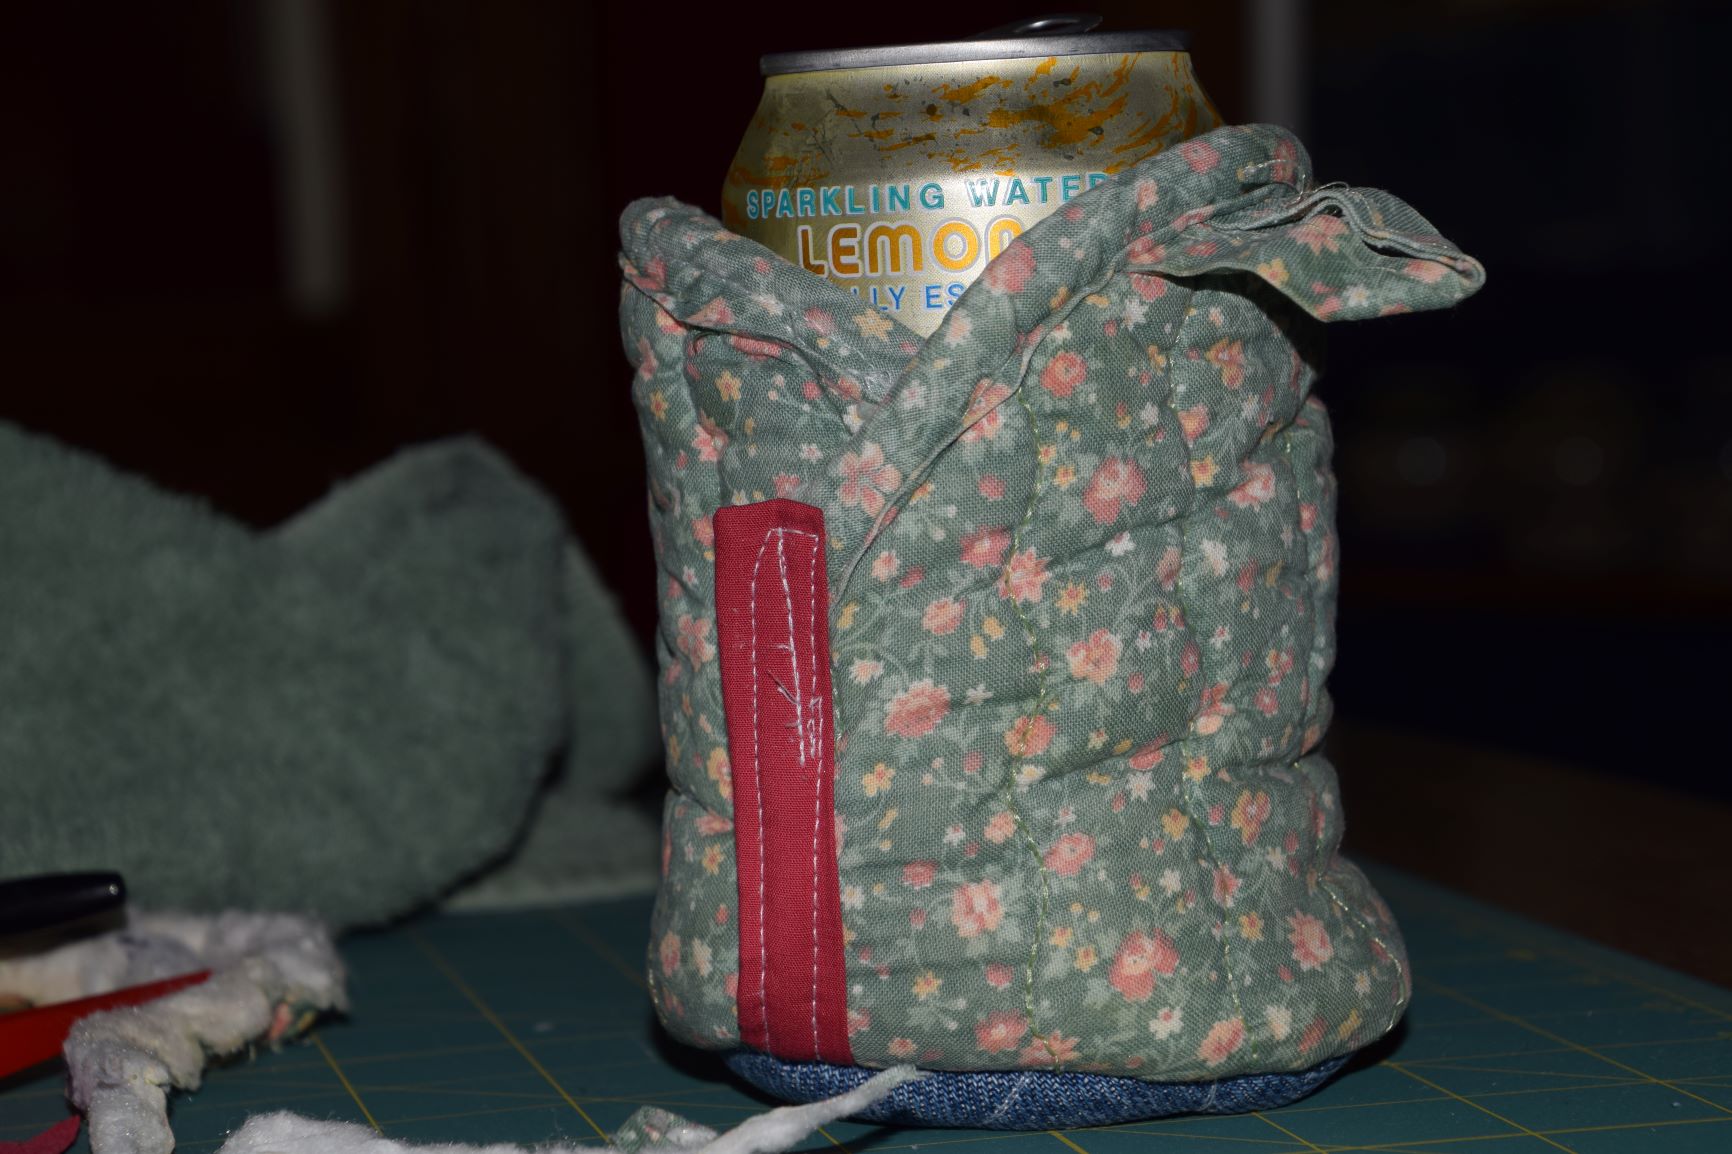
In an upcoming post, I’ll describe what I did to deal with the worn parts of fabric that I reused on the backside of the cushion (I came to appreciate Steve’s suggestion to reuse the fabric and have noticed that upholsters in general take pride in keeping what’s salvageable), explain how I got around installing a zipper (and why I wanted to avoid it), and let you know how I ultimately finished this cushion. For now, I have discovered enough to know that what I’m trying to do is possible. As for the frames of the chairs, eventually I’ll repaint them.

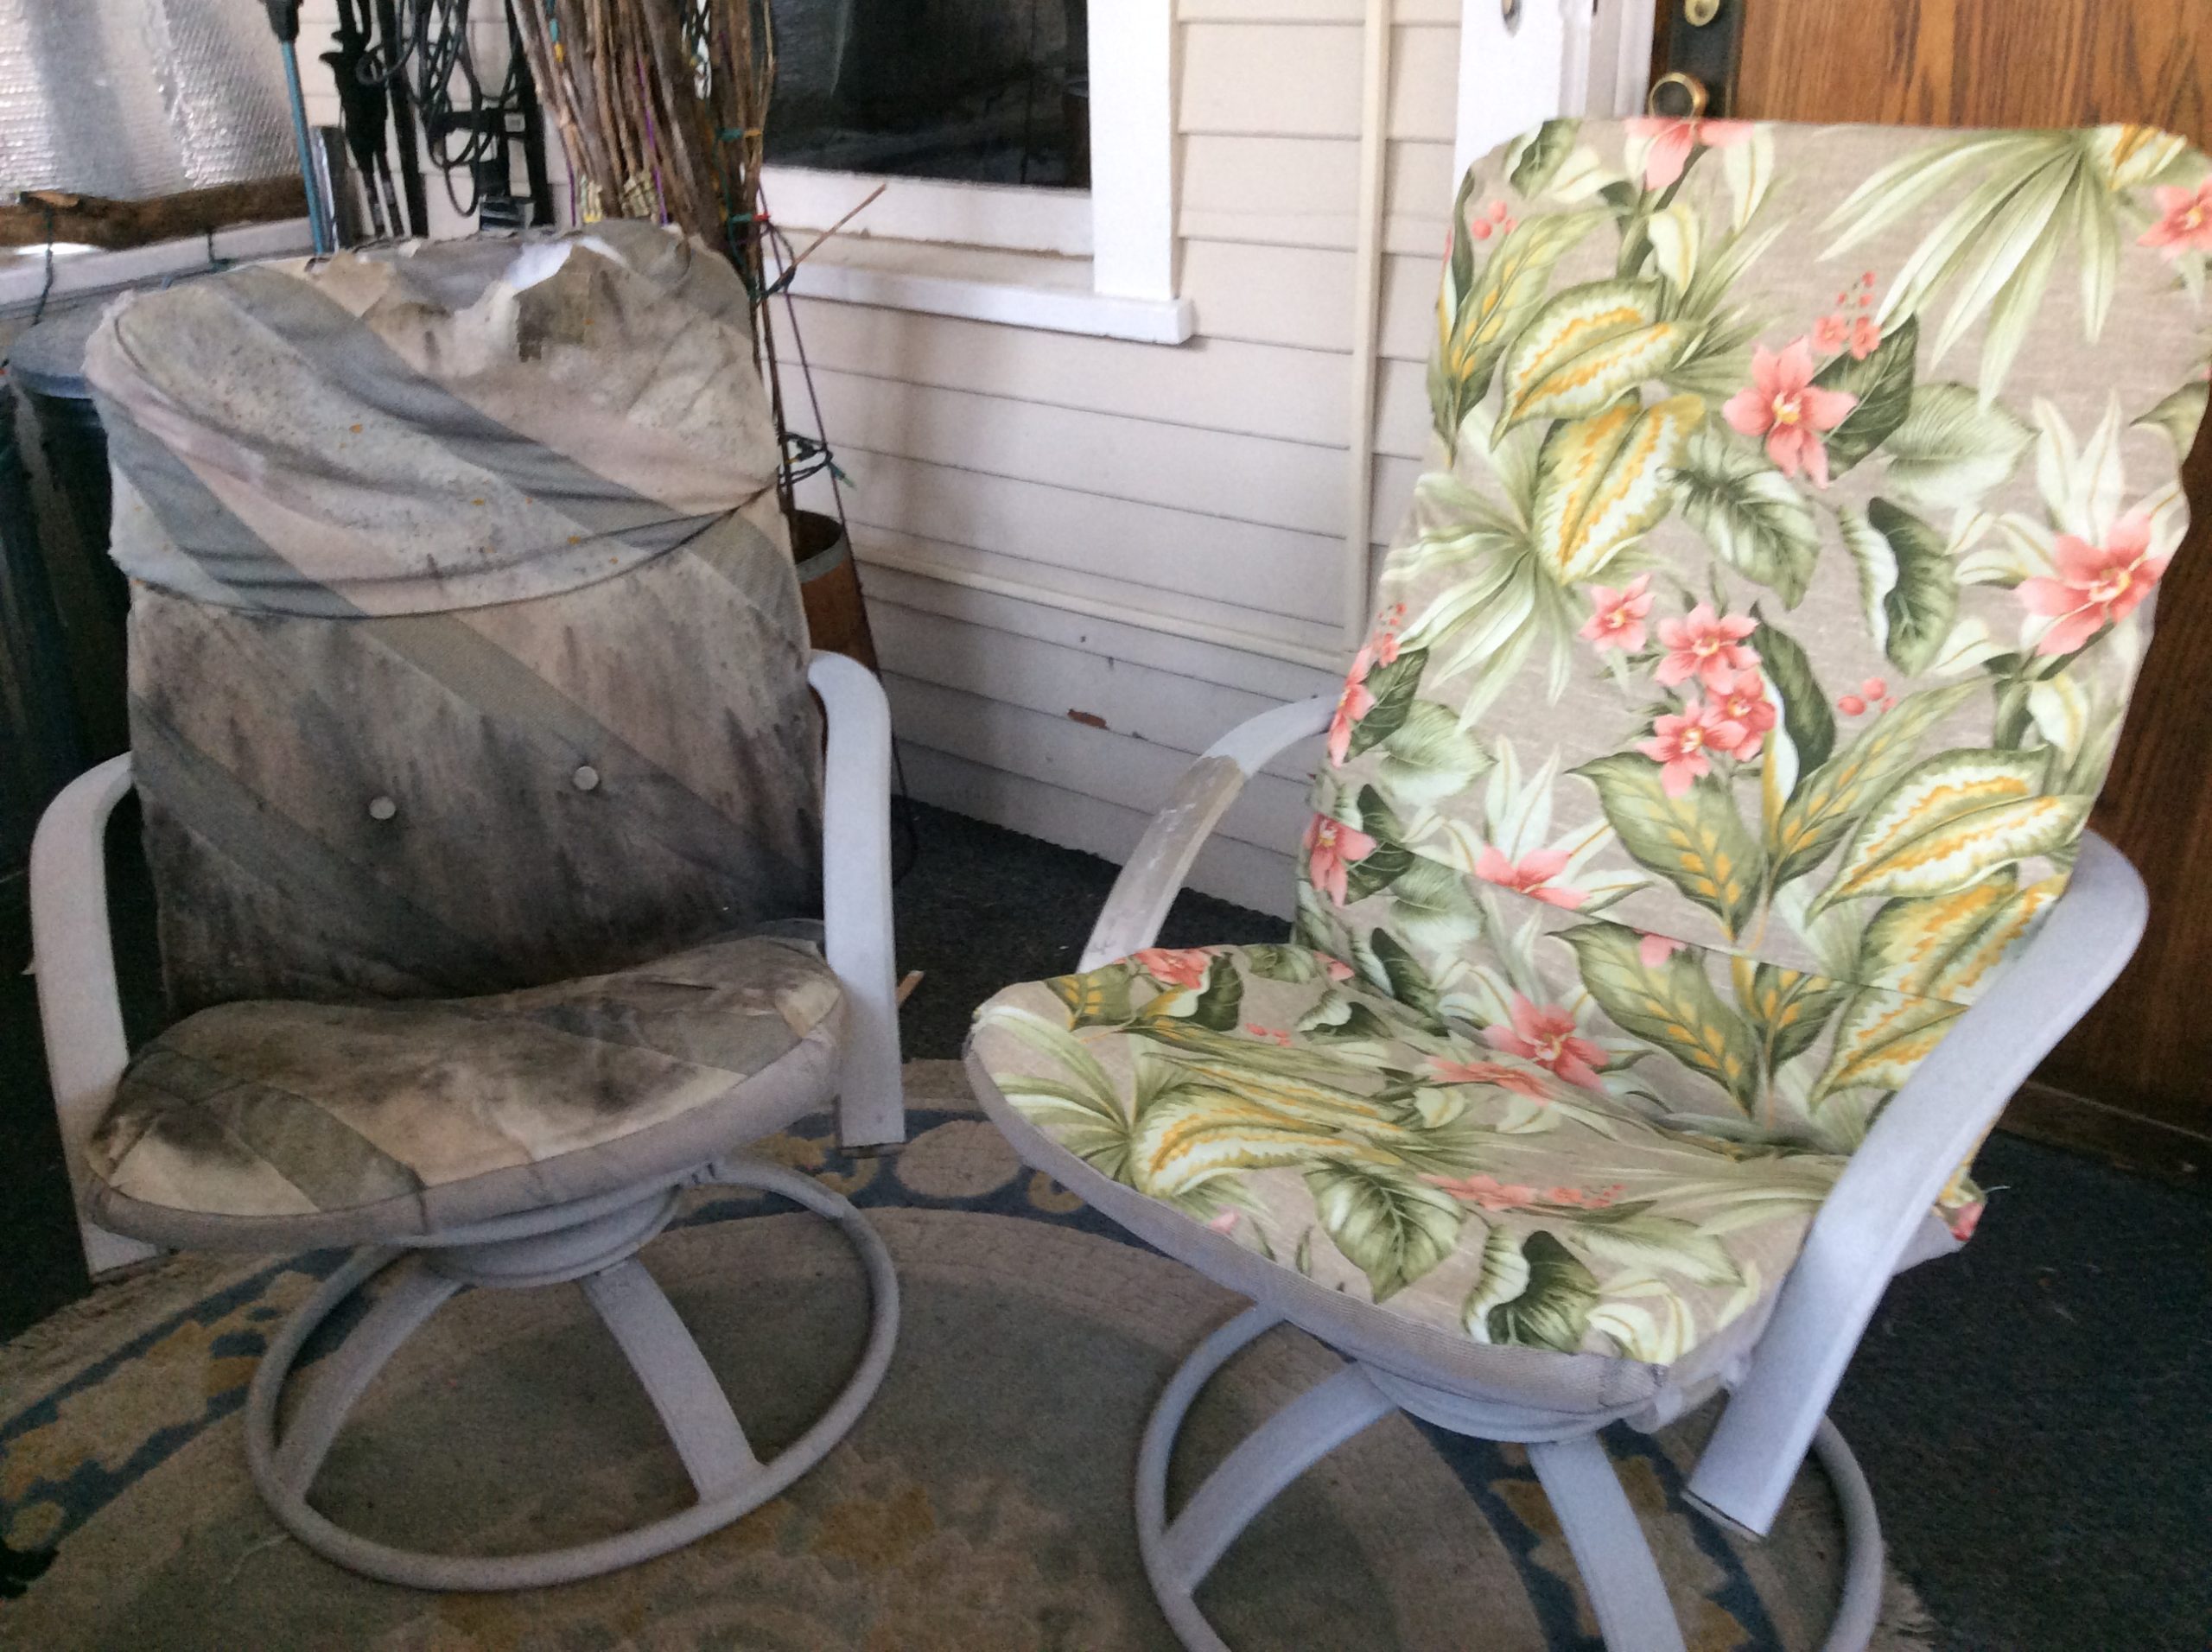
In case you forgot, here’s a before and an almost-done after.

Steve has been on my mind as I’ve been working on this project. I’m on shaky ground, as I am not a sewer. Just cutting into the fabric feels scary. So, telling myself, “It’s just sewing,” can be helpful whenever I get stuck.

Steve Cone and Brian who is sitting in the newly reupholstered chair that Steve just delivered.
The chair Steve Cone recovered for us.

Upcycled Oven Mitt

Today our friend Faith stopped by for our regular Saturday coffee hour. When she mentioned that she needed some mousetraps, I was happy to save her a trip to the store. Her visit was timely, as I’ve been in a decluttering mode. While extreme examples of hoarding make me feel sick to my stomach, even more repulsive is how easily we throw things away, wherever that is. A-W-A-Y. It sounds more like paradise than a landfill or an incinerator. Or it could be a prison: He’s going away for a long time.

The language around acquiring and discarding stuff is interesting. I feel sorry for the artificial Christmas tree that’s posted on Craig’s List or FreeCycle with a note that says: “We need to get rid of it by Sunday.” After twenty years of service, this is how it ends. They just “get rid” of you, as if treating a case of lice. It feels disrespectful. On the other end of the spectrum there’s “rehome.” That’s a little precious. “I would be glad to rehome the working treadmill that you’re not using.” Of course, up top, I’ve already said “upcycle” and “declutter”, two words that spellcheck doesn’t like, though it’s notable that “spellcheck” is just fine. If you can’t beat ’em, join ’em.

Staring into my kitchen drawer, I wonder how many oven mitts a person can use at once. It’s a maximum of two, right? One of the mitts has a hole in it, something I discovered months ago when I burned myself on a baking sheet. And yet, there it is. Un-re-homable. I’ll have to throw it away or let these things pile up until pictures of them are posted on the Estate Sale app next to my teddy bear.

This is where YouTube comes in. Somewhere along the line, YouTube decided that I might be interested in learning how to reupholster furniture. One thing leads to another, and now I’m learning how to make box cushions. That’s why I saw a drink cozy as I looked at this useless mitt. While my sewing skills are limited, I could picture it. So, I tried to make one.

Being careful not to tap the soda can with the sharp scissors, cut the stained worn out top from the bottom that doesn’t wear out as fast. Take out one seam on the sides of each of the two pieces and open them up in a single flat layer.
Trace a soda can on the top part of the open mitten. Then trace a bigger circle around that. If I did this again, I would use the measurement from the cup I used for the outer circle and use a compass to make a pattern.
Wrap the bottom part of the mitt – finished side up – around the can. Move it so the top of the can extends past it enough to drink from it. Use a pin to mark the fabric where the bottom of the can is. Trim off the bottom from the pin plus a 1/2 inch or so for the seam allowance. Secure the binding on the top, if needed. Add more binding to each side. I used part of an old sheet (the red strip). Cut out the circle for the bottom. Mine didn’t look so great, so I topped it with denim from some old jeans. I covered the inside of the bottom with the red sheet, but didn’t do anything with the sides on the inside.

Once the two pieces were ready, I sewed the side piece to bottom, using what I learned from the YouTube videos about making box cushions. A better sewer could whip out a much nicer version of this in no time. Other than starting with a perfect circle, if I did this again, I would consider adding a button hole to the top edge of the overlapping side. I don’t think I can do that now that everything is assembled.

The good news is that there’s less to throw away. The not so good news is that we’ve never used cozy’s. We have friends who use them and that’s what gave me the idea. In fact, I have a foam cozy that was a freebie at an event and it was my intention to give this thing to my cozy-loving friends. Now, instead having one cozy that we never use, we have two of them!

At least I didn’t make a wind chime out of old CDs.

In the spirit of giving old things a new life, I gave my new cozy an honest try. I could appreciate the appeal of it. When Brian saw it he laughed and immediately recognized his old oven mitt. He had to admit that it was convenient to put down his drink without being tethered to a coaster.

After I’m dead, people are going to come to my estate sale and they’re going to find this cozy on a table full of kitchenware and possibly, unless a relative feels some attachment to it, a bear.

Sewing Paper

My uber creative niece expressed no surprise when I told her that I discovered you could sew on paper. I wanted to make money cards for Christmas and one morning between sleep and coffee, a solution drifted into my consciousness such that I understood the perfectness of using a light bulb to represent inspiration. It was exactly like that. Out of nowhere, “I could sew it!” Ding! By 4 a.m. I had confirmed my theory and was loving the results. Old news or not, I might as well have discovered fire.

Needing containers for my collection of cassette tapes that are awaiting digitization and inspired by first considering a grocery bag – a terrible idea as it would have been too deep to be useful – I remembered my experiment and came up with a shorter, more rigid bag that works great.

Container for cassette tapes.

Sized to maximize shelf space, a shorter bag means that I can easily see what’s inside.

How to Make a Custom Bag with a Grocery Bag

Supplies:

  • 2 grocery bags that are the same size
  • Ruler
  • Pencil
  • Stapler
  • Marker
  • Paper cutter wide enough for the bag; rotary cutter, mat, and straight edge; or scissors and a straight edge
  • Tracing wheel
  • Iron

Steps:

  1. Remove the handles of two grocery bags, being careful not to tear the bag or the handles. If you do accidentally tear anything, don’t worry about it. Set aside one of your bags and the handles you just removed for later use.
  2. Measure from the bottom of your grocery bag up to how deep you want your bag to be. Make a dot at this point with a marker (Dot #1). So, if you are making a bag that will be 5″ tall, you would measure 5″ from the bottom of the bag to Dot #1.

    xx

    Measuring from the bottom of a grocery bag, mark how deep/tall you want your new bag to be.

  3. By measuring from the dot you just made (Dot #1) upwards to just short of the height of your bag, mark Dot #2. So, if you are making a bag that will be 5″ tall, Dot #2 will be a little less than 5″ above Dot #1.

    xx

    A Sharpie marker works great for marking your dots.

  4. Cut off the top of the grocery bag at Dot #2, the top dot. Save the cut off piece for Step #6. I love my Swingline paper cutter for this job. A rotary cutter, a mat and a straight edge would also work. If you use scissors, draw a straight line around the bag before cutting.

    xx

    I wasn’t sure if this paper cutter was going to be what I needed. So, far I haven’t run into any serious limitations for the types of things I am doing.

    xx

    My paper cutter has different settings for cutting, creasing, perforating…

  5. Make a crease at Dot #1. I used the crease setting on my paper cutter to do this and it worked great. A smooth tracing wheel might also do the trick.

    xx

    The crease will make folding the bag easier.

  6. If needed, trim the top of the grocery bag you cut off in Step #4 such that when it is inserted in the new bag you are making, it falls just below the crease made in Step #5. Insert this piece inside the bag, loosely lining up the sides and corners as shown.

    xx

    Lining the inside of the bag with this extra scrap will make it sturdier. I turned my liner inside out, thinking that it would look nicer to show the pattern. However, this gets covered up, so skip that step.

  7. At the crease made in Step #5, fold the top of the bag down inside itself. This will cover up the liner you just inserted and hold it in place.
    xx

    It’s starting to look like something!

    xx

    There!

  8. Sew a hem along the top of the bag.

    xx

    I wish fabric handled as easily as a grocery bag does! Different bags behave differently.

    xx

    The bag will turn itself as you sew.

    xx

    Voila! A low-cost way to practice sewing!

  9. To make the bag more rigid and look crisper, pinch the corners and sew them in place with a few stitches.

    xx

    The bag works fine as is, but its sides are buldging a little.

    xx

    Pinching the corners takes up the slack and gives the bag a neater look.

  10. Sew the handles you saved from Step #1 onto the bag as you like. You can use a temporary staple to hold them in place as you sew.
    xx

    Almost done!

    xx

    I’m loving how these are turning out!

  11. Fold your second grocery bag (handles removed) such that it is the size of its bottom. Trim off any extra paper that won’t easily fold and stay in place. Sew the folded bag around the edges to hold it together. Place the finished piece in the bottom of your new bag.

    xx

    The extra bottom will help hold the bag together.

    xx

    The insert also hides rough edges.

  12. You can iron the bag if you want it to look a little crisper. Put a cloth between the iron and the paper.

    xx

    The altered bag is amazingly strong. For example, it would take some effort to remove the handles.